Gardening is a delightful journey, where the soil beneath your feet holds the key to thriving plants. Whether you’re just planting your first flower bed or you’ve been nurturing a lush garden for years, understanding your soil’s unique characteristics can transform your gardening success. Testing your garden soil at home is not just an activity for the plant enthusiasts but a critical step for anyone looking to cultivate a vibrant, healthy garden.
Imagine the joy of watching your garden flourish, knowing that its roots are anchored in perfectly balanced soil tailored to your plants’ needs. This article will guide you through the simple yet crucial process of testing your garden soil at home, enabling you to make informed decisions about amendments and plant choices. You’ll discover how to identify nutrient deficiencies, adjust pH levels, and ultimately create the ideal environment for your garden to thrive.
By demystifying the process of soil testing, we aim to empower you with the confidence to take control of your garden’s health. Whether your goal is to grow the juiciest tomatoes, the most fragrant roses, or a vibrant array of foliage, understanding your soil is the first step. So, roll up your sleeves and get ready to dig into the heart of your garden’s potential, as we explore the science and simplicity of home soil testing.
Understanding Home Test Garden Soil
Understanding home test garden soil is crucial for any gardener aiming to optimize plant growth. Conducting soil tests at home enables you to determine its pH level, nutrient content, and overall health, which are essential for tailoring your gardening approach.
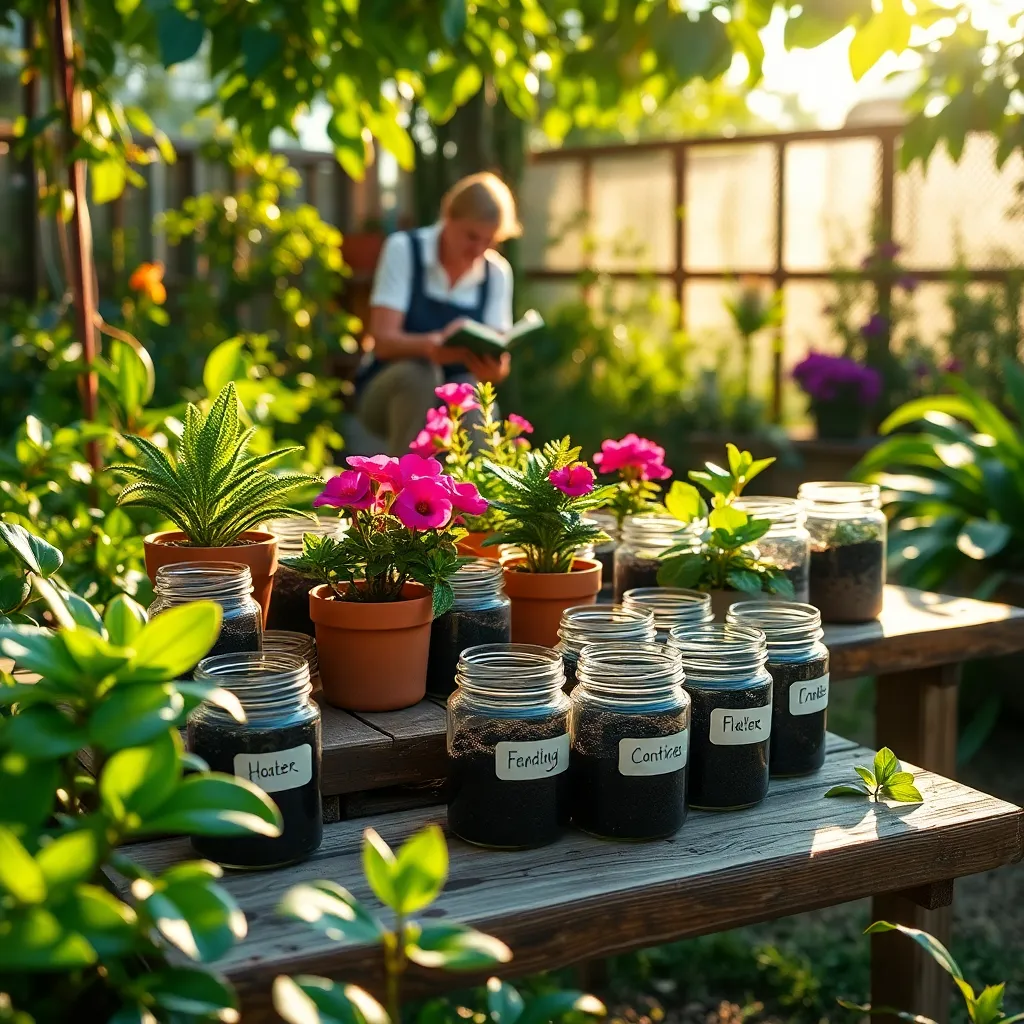
To begin, gather a soil sample by digging about 6 inches deep in several areas of your garden, ensuring you get a comprehensive overview. Mix these samples in a clean container and let them dry naturally before testing, which helps in obtaining more consistent results.
Home soil test kits are widely available and provide a straightforward way to measure essential metrics like pH, nitrogen, phosphorus, and potassium levels. For beginners, these kits come with easy-to-follow instructions and can be a great starting point for understanding your soil’s condition.
Advanced gardeners might consider sending a sample to a professional lab for a more detailed analysis, which can uncover micronutrient deficiencies. This information is invaluable when planning your garden, as it allows you to amend your soil with specific fertilizers or organic matter to address any deficiencies.
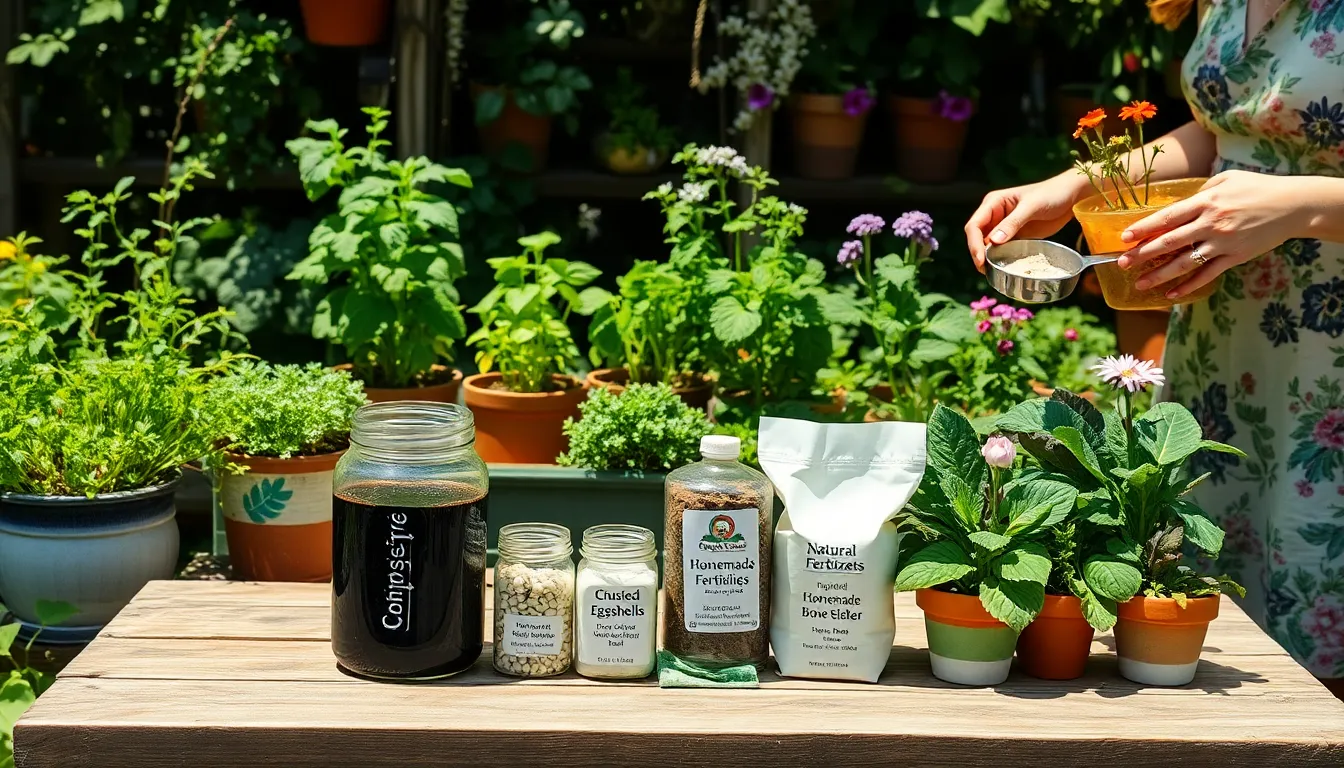
Improving soil quality often involves adding organic matter, such as compost or well-rotted manure, which enhances soil structure and nutrient content. Regularly applying mulch can also help retain moisture and suppress weeds, creating a more hospitable environment for plant roots.
For those dealing with sandy soils, incorporating clay or loam can improve moisture retention and nutrient availability. Conversely, if you have heavy clay soil, consider adding sand or organic matter to improve drainage and aeration.
Benefits of Testing Soil at Home
Testing your soil at home can significantly boost your gardening success by revealing essential details about its composition. It provides insights into the soil’s pH level, nutrient content, and texture, helping you tailor your gardening approach to your specific conditions.
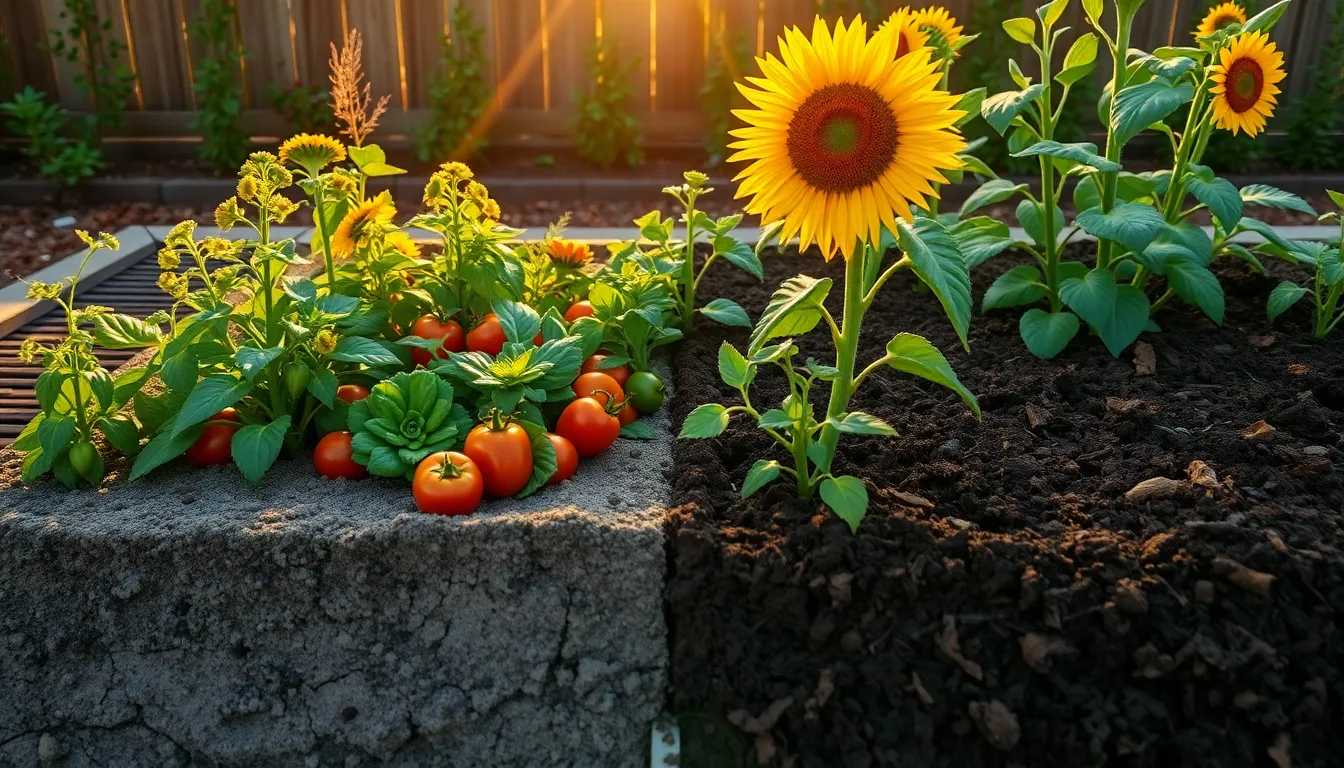
By understanding your soil’s pH, you can select plants that will thrive in your garden’s natural environment. For example, blueberries prefer acidic soil, while lavender and thyme flourish in more alkaline conditions, allowing you to choose plants wisely.
Home soil testing kits are readily available and easy to use, making them an excellent tool for both beginners and seasoned gardeners. These kits typically include detailed instructions and necessary components, ensuring you can accurately assess your soil’s health without expert intervention.
For novice gardeners, starting with a basic soil test can prevent common planting mistakes, such as over-fertilizing or choosing unsuitable plants. More experienced gardeners can benefit from advanced tests that measure micronutrient levels, helping fine-tune fertilization routines for optimal plant growth.
Regular soil testing allows you to monitor changes over time, helping you adapt your gardening practices as needed. This ongoing assessment can lead to healthier plants, as you’ll know when to amend the soil with organic matter or adjust watering schedules based on soil texture.
Steps to Prepare Test Garden Soil
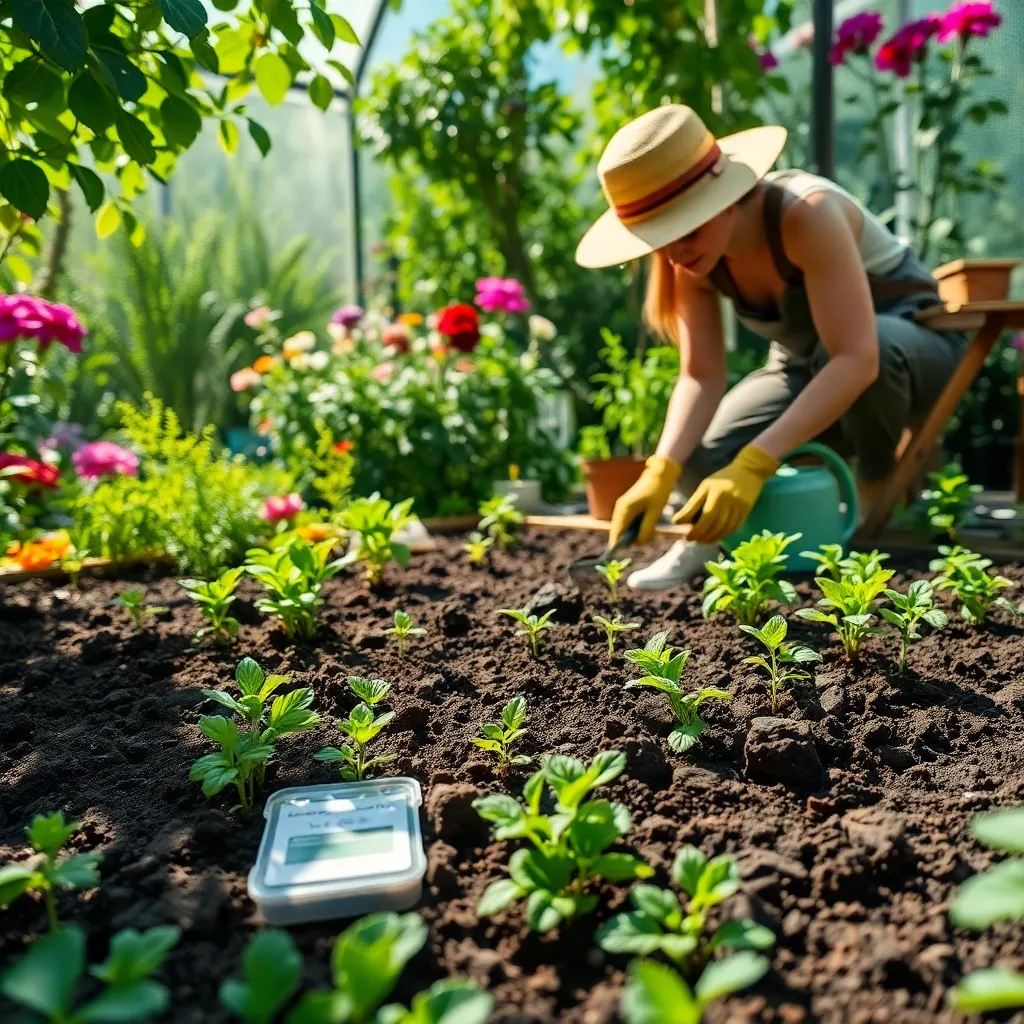
Preparing test garden soil is a crucial step to ensure your plants thrive. Begin by clearing the area of any debris, such as rocks, sticks, and weeds, which can hinder root growth.
Next, loosen the soil with a garden fork or tiller to a depth of at least 12 inches. This improves aeration and allows water and nutrients to penetrate more effectively.
Incorporate organic matter, such as compost or well-rotted manure, into the soil by mixing it thoroughly. This enriches the soil with nutrients and enhances its overall structure, boosting plant health.
Perform a simple soil drainage test by digging a hole about 12 inches deep and filling it with water. If the water drains in less than four hours, your soil has good drainage; otherwise, consider adding sand or organic matter to improve it.
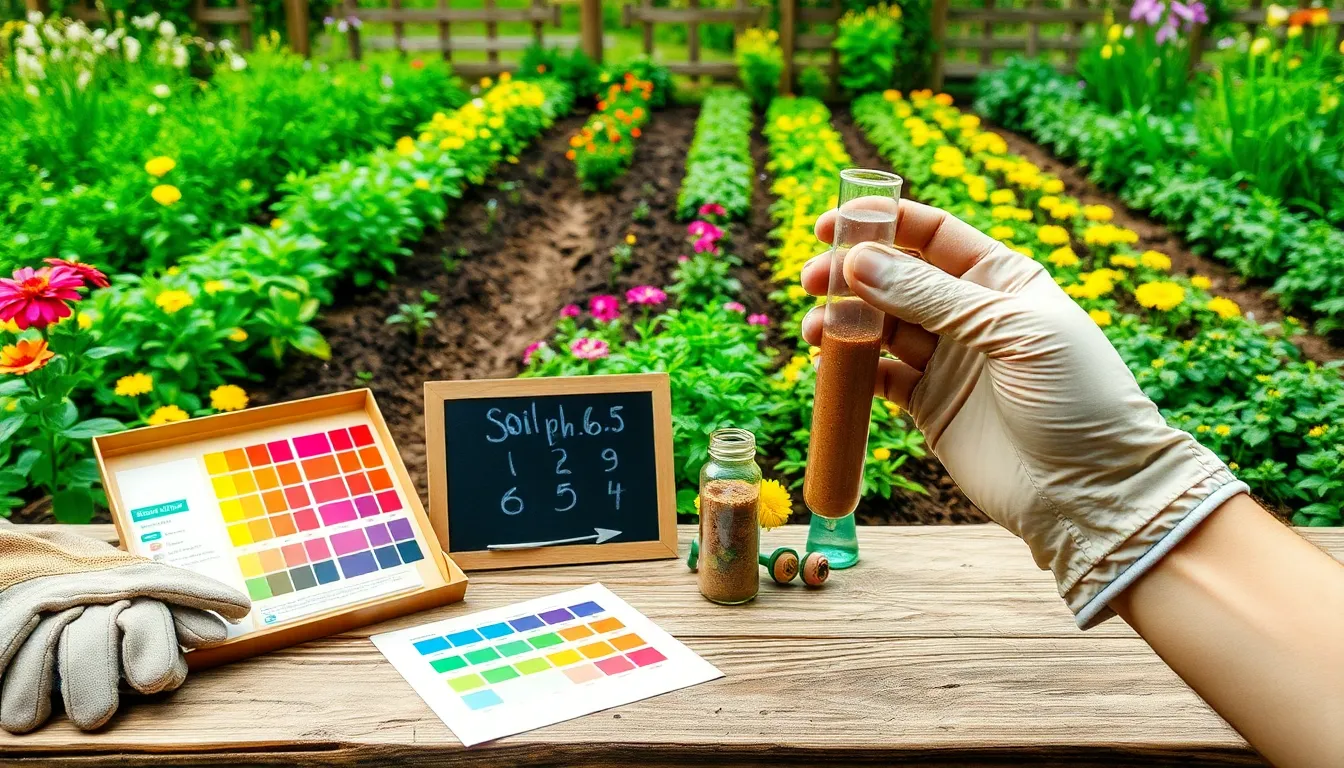
For those keen on precision, consider testing your soil’s pH using a home test kit. Most plants prefer a pH between 6.0 and 7.5, so adjust the pH accordingly by adding lime to raise it or sulfur to lower it.
Finally, level the soil with a rake and ensure it’s free of large clumps or compacted areas. This provides a smooth, even surface for planting and ensures uniform growth conditions for your plants.
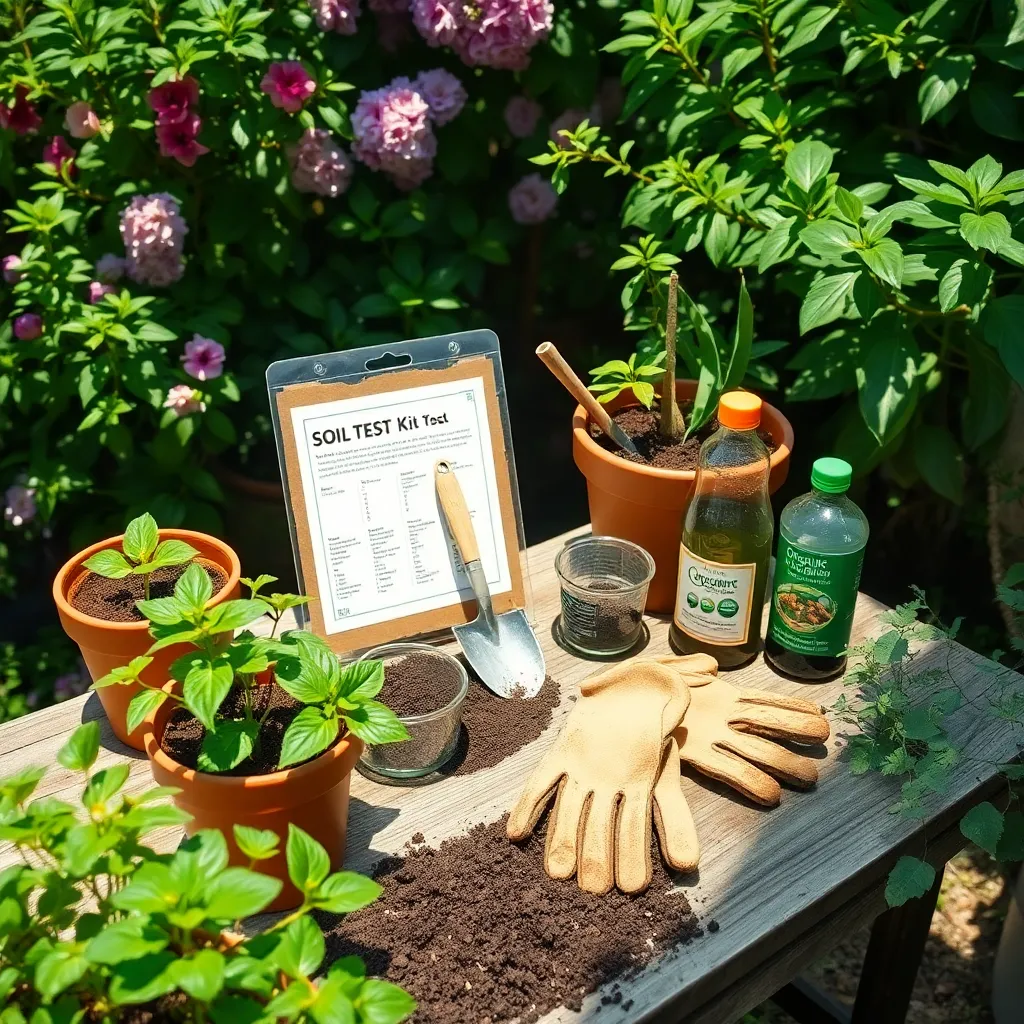
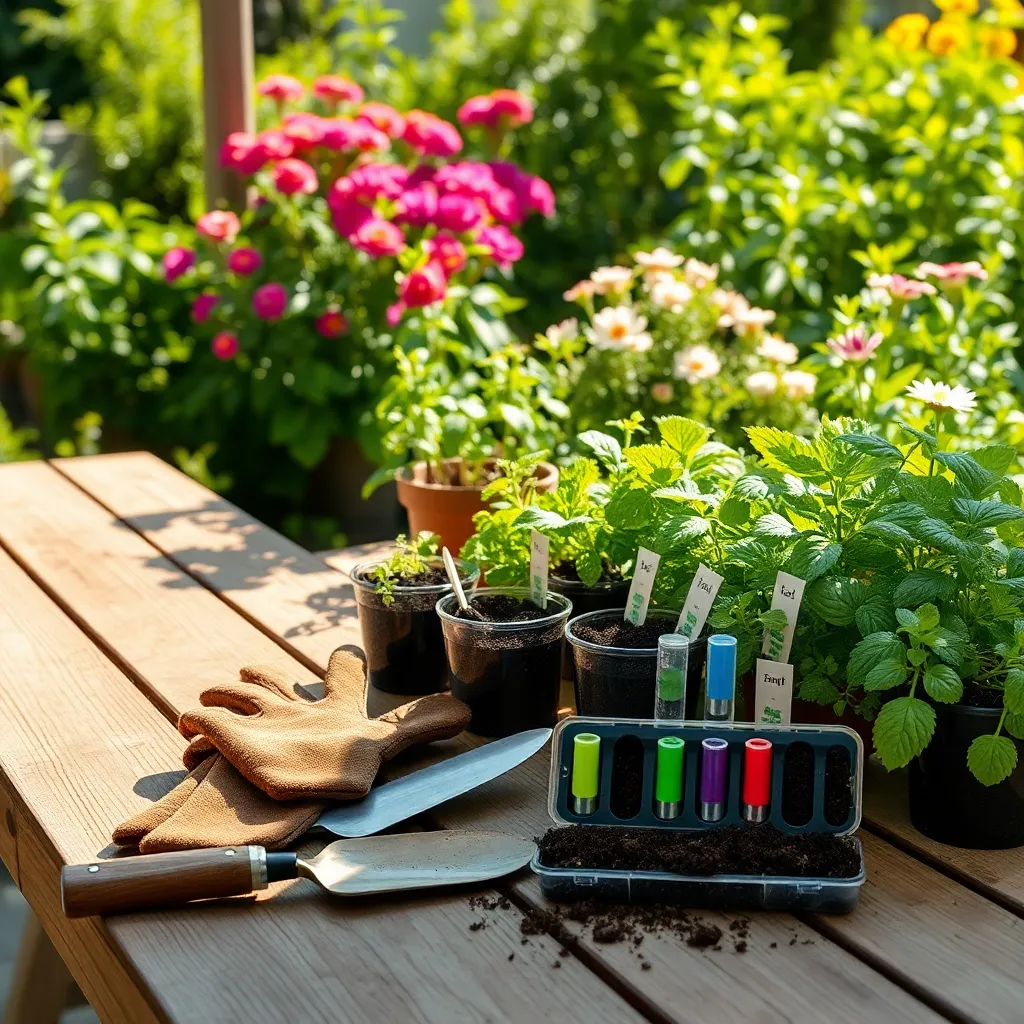
Tools Needed for Soil Testing
To effectively test garden soil at home, you need a few essential tools that will make the process straightforward. A basic soil test kit is a must-have, often containing pH testing strips or a digital pH meter, which will help you determine the acidity or alkalinity of your soil.
Additionally, having a small trowel or spade is important for collecting soil samples from different parts of your garden. This ensures that you get a representative sample, providing a more accurate understanding of your soil’s overall condition.
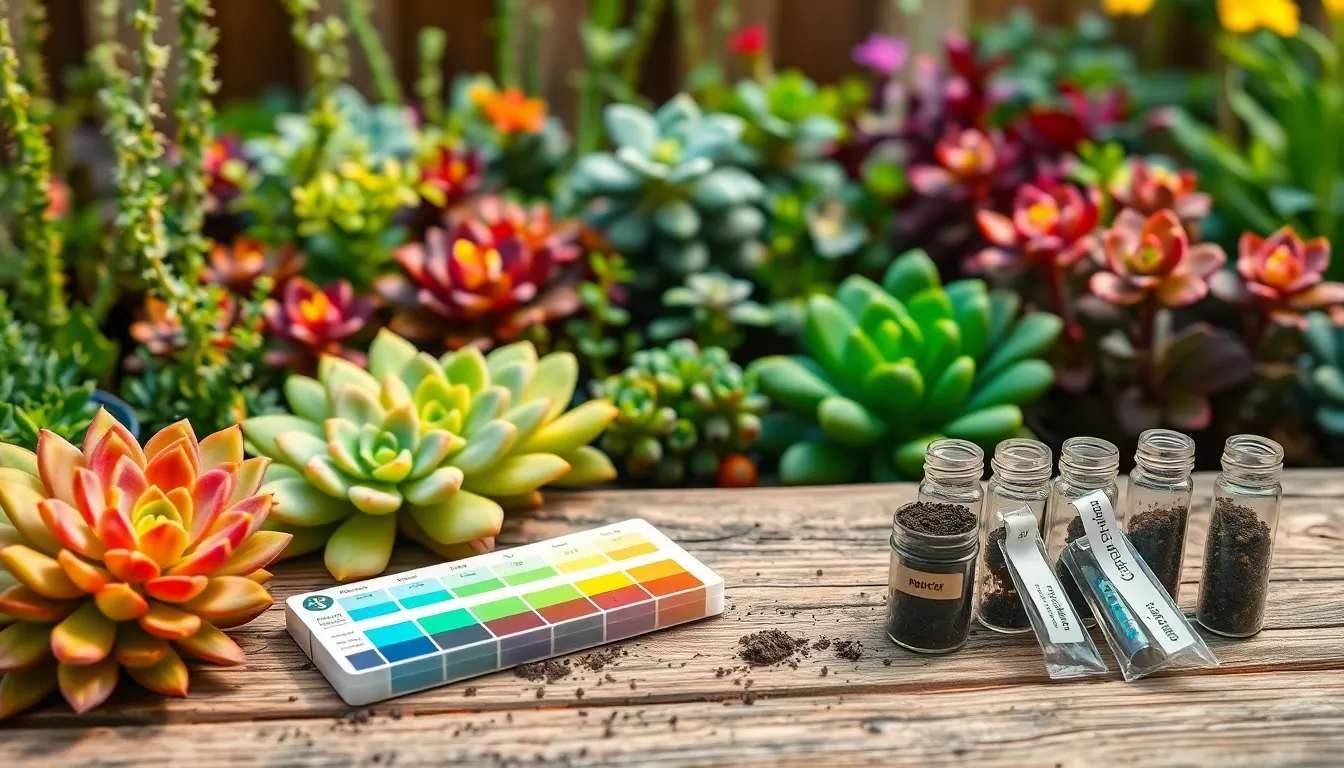
For more comprehensive testing, consider a soil testing probe, which can help you reach deeper layers of soil without disturbing the surface too much. This tool is especially useful for experienced gardeners looking to optimize nutrient levels in their soil.
Lastly, a clean bucket or container is necessary for mixing soil samples before testing. This step is crucial to ensure that your test results reflect an average of the soil conditions across your garden.
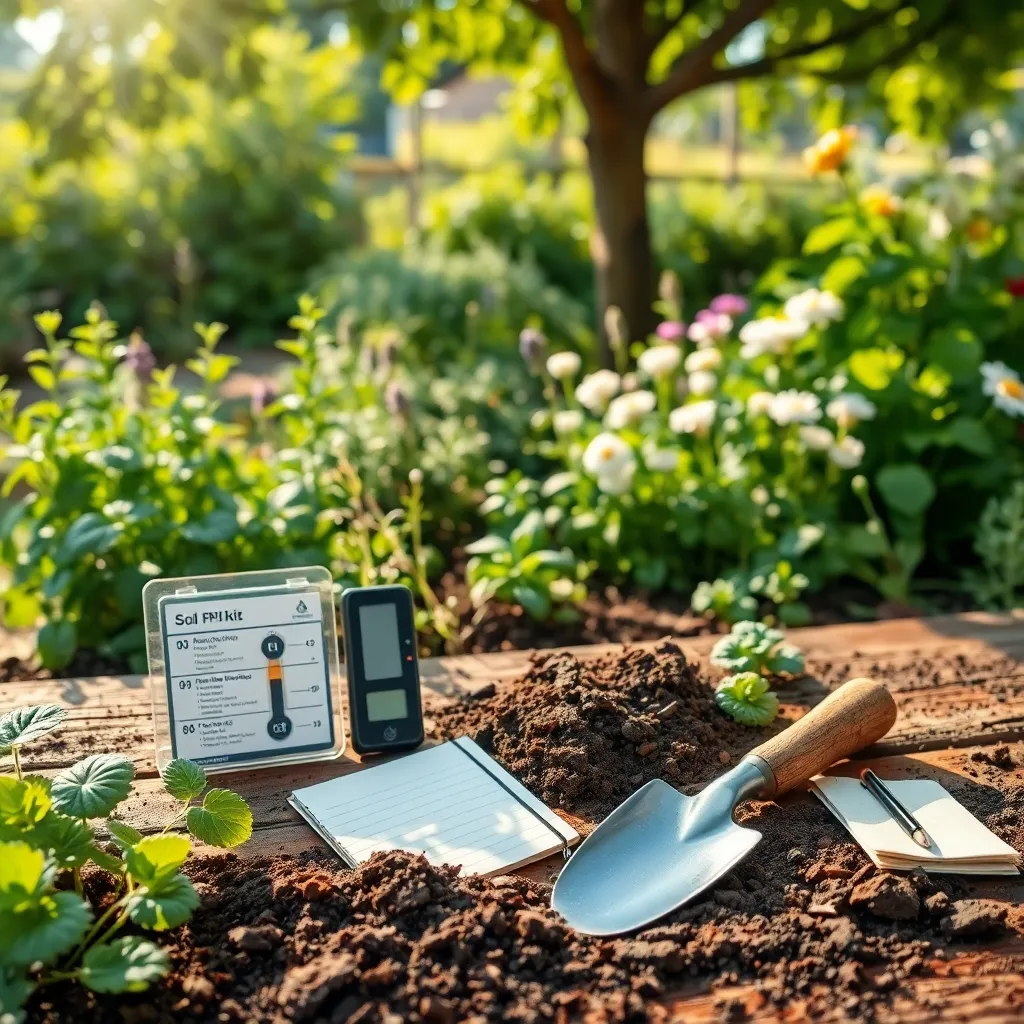
Interpreting Home Soil Test Results
After conducting your home soil test, the next step is to interpret the results to enhance your garden’s productivity. Understanding these results can help you determine the necessary amendments for your soil, ensuring it supports vigorous plant growth.
Firstly, pay attention to the pH level, as it affects nutrient availability. Most plants thrive in slightly acidic to neutral soil, typically between a pH of 6.0 and 7.0, so you’ll need to adjust if your soil is outside this range.
If your soil is too acidic, consider adding lime to raise the pH, which can improve nutrient uptake. Conversely, if your soil is too alkaline, incorporating elemental sulfur or organic matter like peat moss can help lower the pH.
Nutrient levels, particularly nitrogen, phosphorus, and potassium, are also crucial to evaluate. If your test indicates a deficiency, applying a balanced fertilizer or specialized amendments can correct these nutrient levels and promote healthy plant growth.
For advanced gardeners, tailoring soil amendments to specific plants can optimize growth. For example, tomatoes often benefit from extra calcium, so consider adding gypsum if your soil test shows a deficiency.
Keep in mind that soil texture impacts water retention and drainage, both vital for plant health. Incorporating organic matter like compost can improve sandy soils by increasing water retention, while clay-heavy soils benefit from enhanced drainage when amended with sand or perlite.
Finally, remember that soil health is an ongoing process requiring regular testing and adjustment. Frequent monitoring and adjustments will ensure that your plants receive the ideal growing conditions they need to thrive.
Conclusion: Growing Success with These Plants
In nurturing the fertile ground of relationships, we’ve explored five vital concepts: understanding your partner’s needs, the importance of communication, the role of trust, the necessity of shared goals, and the art of compromise. Each of these elements acts like a nutrient in the soil, essential for the growth and resilience of your bond. To put these insights into action, start by setting aside dedicated time this week to have an open conversation with your partner about your shared dreams and aspirations. This will not only strengthen your connection but also align your paths forward.
As you embark on this journey, remember that cultivating a healthy relationship is a continuous process, much like tending to a garden. Bookmark this article to revisit these essential concepts, ensuring they remain a part of your relationship toolkit. By doing so, you’ll be equipped to navigate challenges and celebrate triumphs with confidence.
Looking ahead, envision a future where your relationship flourishes, rooted in understanding, trust, and shared purpose. Embrace these steps, and watch your partnership grow stronger, more resilient, and deeply fulfilling. Save this guide as a cornerstone for your relationship success—your future together awaits!