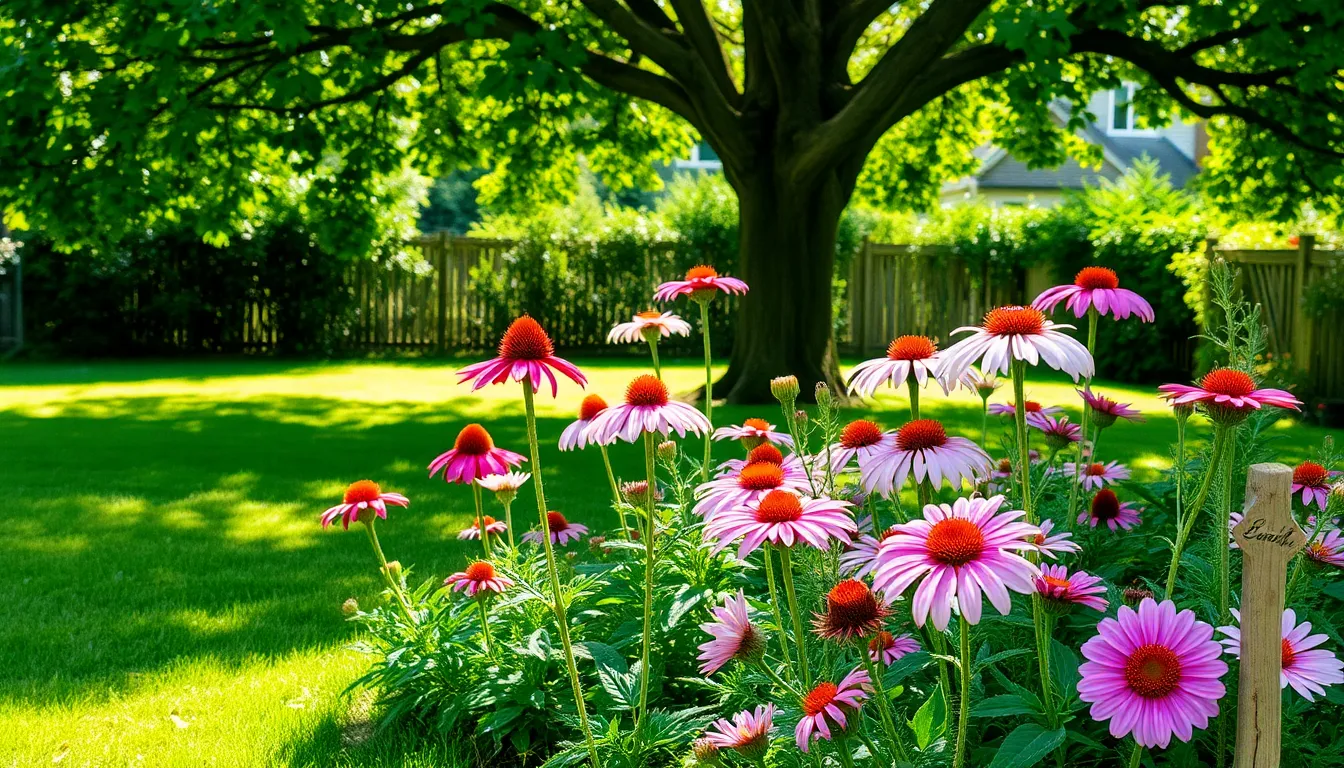
Welcome to the vibrant world of DIY planters, where creativity meets cultivation and every gardener, whether a green-thumb newbie or a seasoned soil whisperer, can discover inspiration. In “15 DIY Planter Ideas for Your Garden,” you’ll find a treasure trove of inventive projects that transform ordinary spaces into lush, personalized paradises, all while celebrating the joys of nurturing life.
Transforming your garden with these unique planters isn’t just about aesthetics; it’s an opportunity to express your personality and create a thriving haven right at your doorstep. From repurposed household items to innovative designs, each idea promises practical benefits like maximizing space, enhancing plant health, and adding a splash of charm to your garden. So, grab your gardening gloves and toolkit, and get ready to embark on a journey that promises not only growth but also the satisfaction of watching your creativity bloom. With these easy-to-follow ideas, you’ll feel confident and inspired to turn your garden into a reflection of your own vibrant spirit.
Repurpose Old Tires as Planters
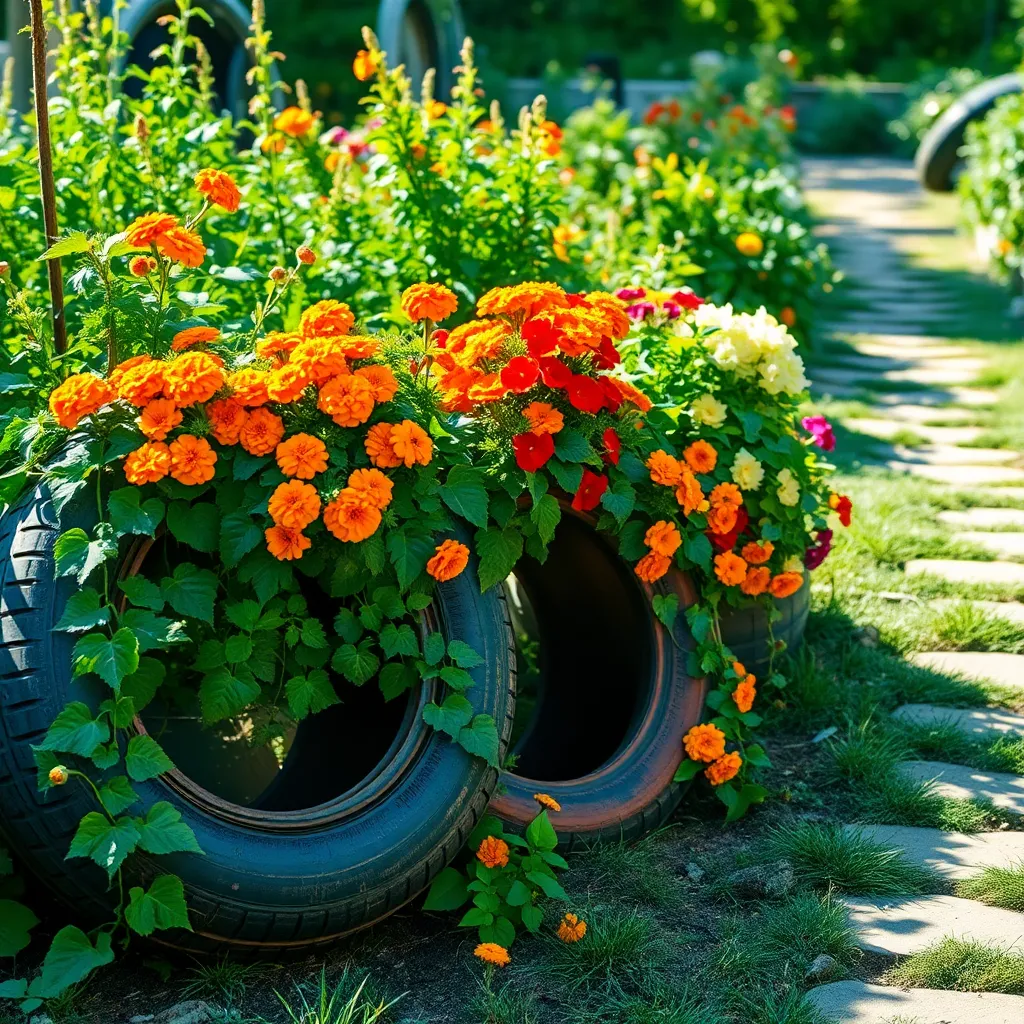
Repurposing old tires as planters is an eco-friendly way to add unique style to your garden. Start by thoroughly cleaning the tires to remove any dirt or chemicals, ensuring a safe environment for your plants.
Once cleaned, consider painting the tires with weather-resistant paint to add a splash of color and protect the rubber from breaking down in the sun. Use bright colors to create a vibrant, eye-catching display, or go for earthy tones to blend them seamlessly into your garden landscape.
When it comes to filling your tire planters, it’s important to use a good quality potting mix. Mix in some compost or well-rotted manure to enhance the soil’s fertility and improve drainage.
For beginners, select hardy plants like marigolds or succulents that require minimal care and thrive in well-drained soil. If you’re looking for a challenge, try growing strawberries, as their cascading nature works well in tire planters.
Transform Wooden Pallets into Planters
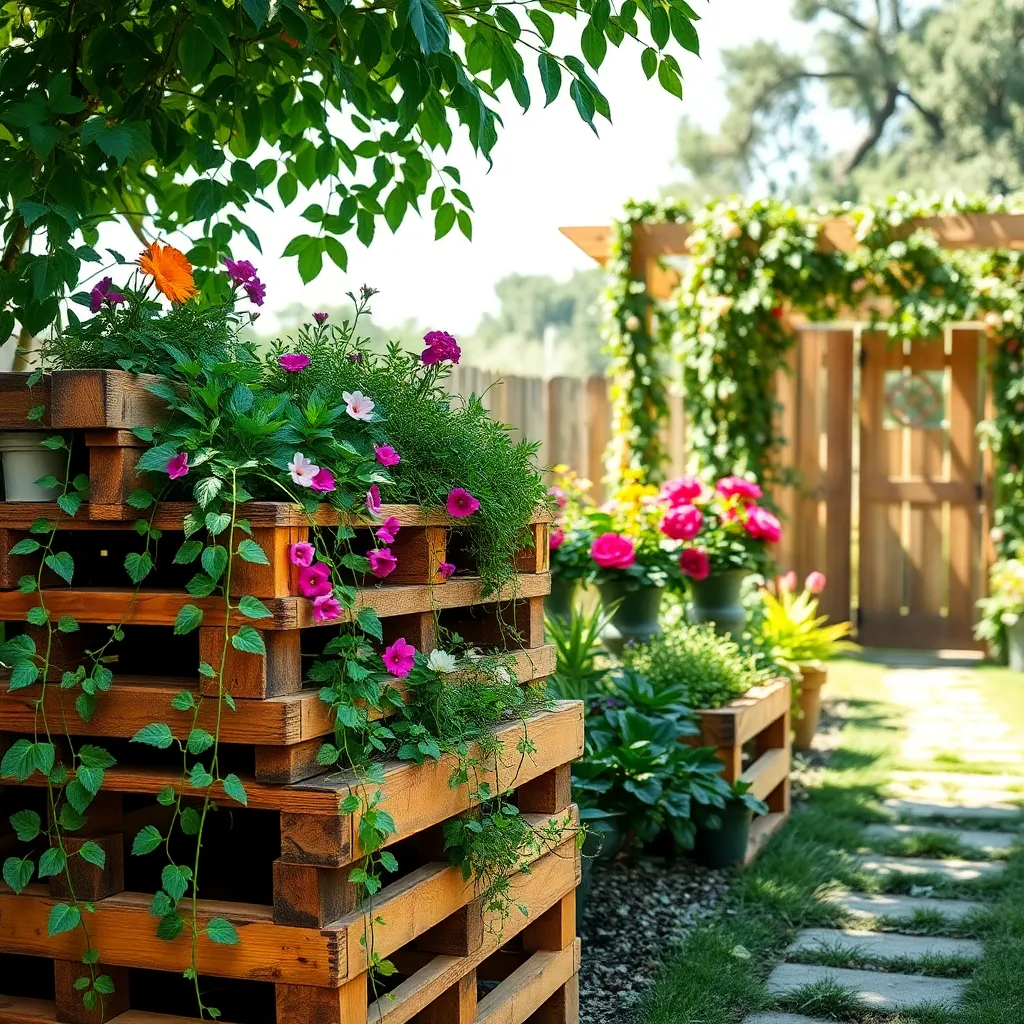
Wooden pallets can be a fantastic resource for creating rustic, functional planters to enhance your garden’s charm. Begin by selecting pallets that are untreated and in good condition, as treated wood may contain chemicals harmful to plants.
To transform a pallet into a planter, you should first sand down any rough edges to make the wood smooth and safe. Then, line the inside with landscape fabric to hold the soil while allowing for drainage.
For planting, use a well-draining potting mix that suits the type of plants you intend to grow. Herbs, succulents, and small annuals are excellent choices for pallet planters due to their shallow root systems.
Water your pallet planter consistently, ensuring the soil stays moist but not waterlogged. Consider adding a slow-release fertilizer to provide plants with the necessary nutrients throughout the growing season.
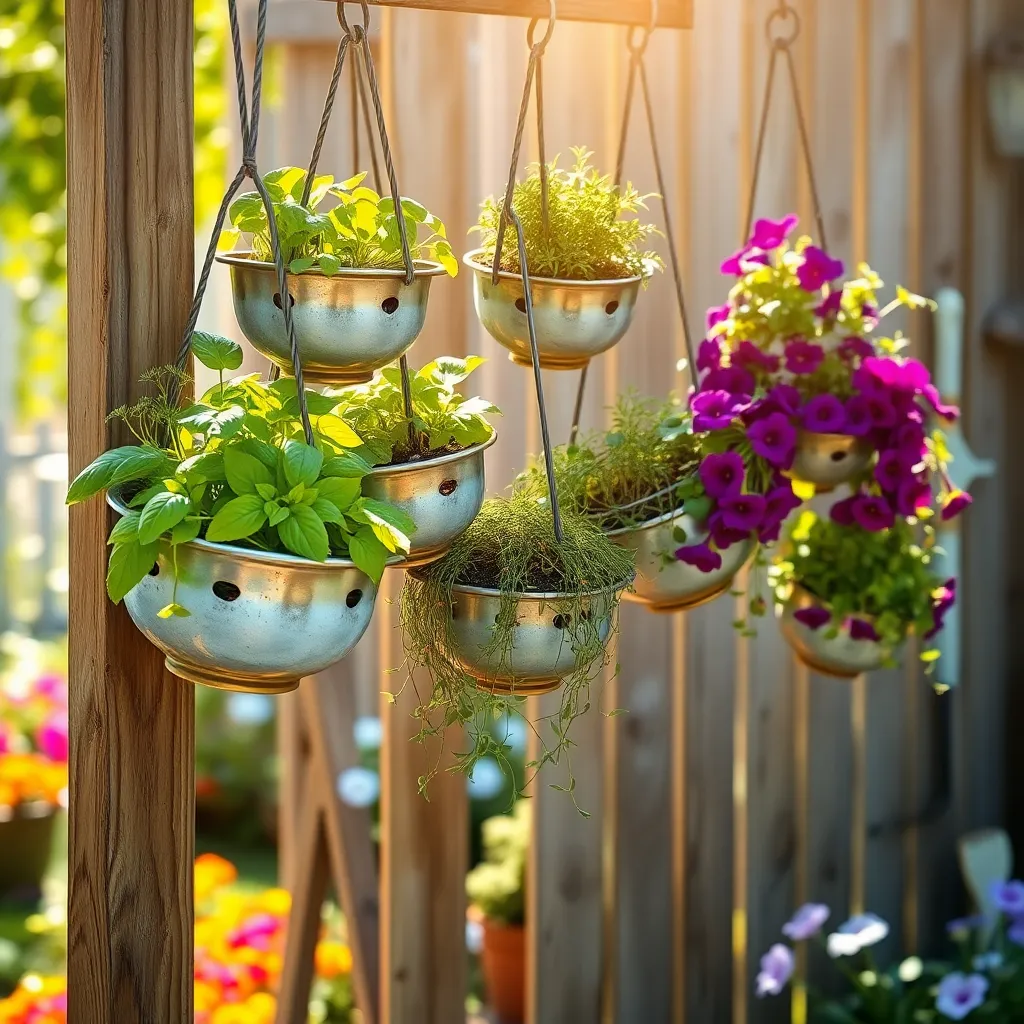
Create Hanging Planters from Tin Cans
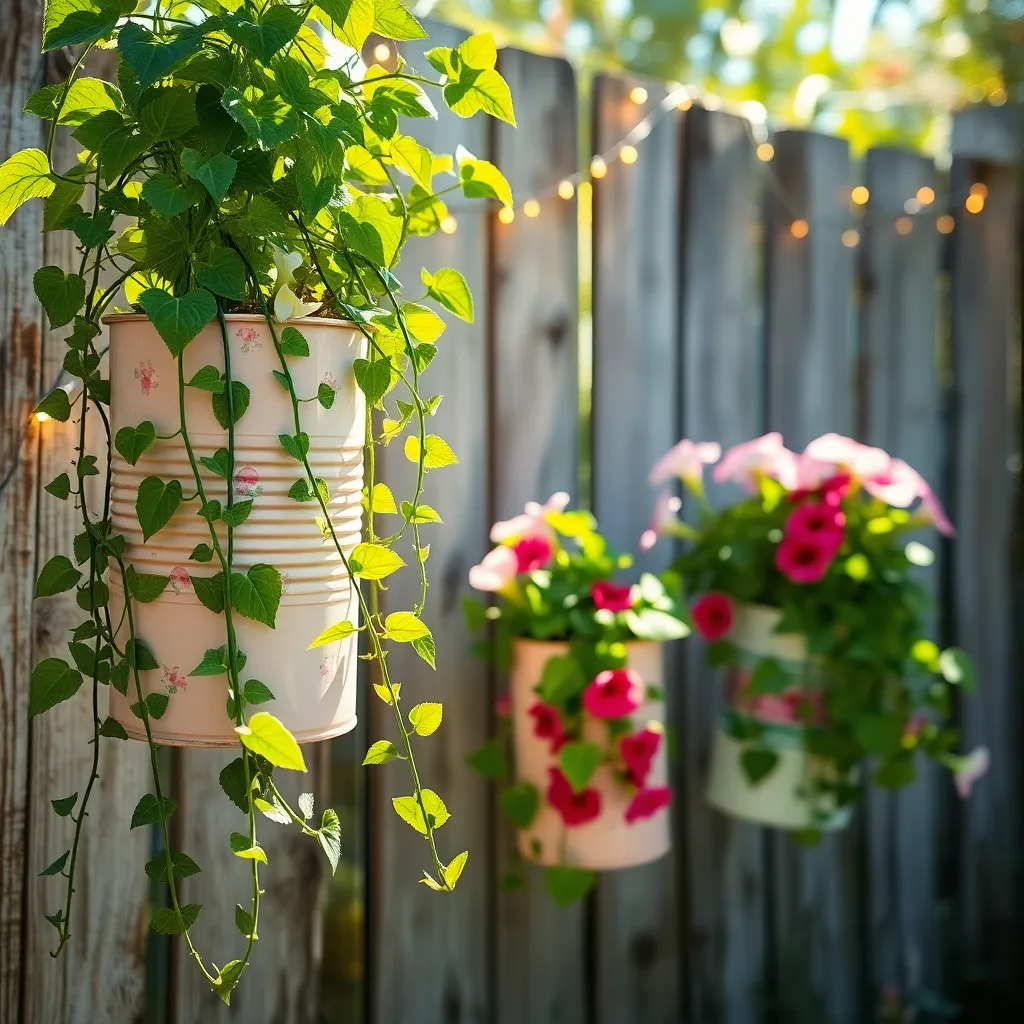
Creating hanging planters from tin cans is an enjoyable and sustainable way to add greenery to your space. Begin by gathering clean, empty tin cans and drilling a few holes in the bottom for drainage, which is crucial for preventing root rot.
Next, paint or decorate the cans to match your garden’s aesthetic, using weather-resistant paint for durability. Attach sturdy wire or rope to the cans, ensuring they are securely fastened to hold the weight of soil and plants.
Select small, hardy plants such as succulents, herbs, or compact flowers that thrive in limited soil space. Opt for a lightweight potting mix that includes perlite or vermiculite to ensure proper aeration and drainage, which is essential for hanging planters.
Water these planters sparingly, as they often dry out more quickly than ground pots. Monitor moisture levels by testing the top inch of soil with your finger and watering only when it feels dry to the touch.
Craft Vertical Planters with PVC Pipes
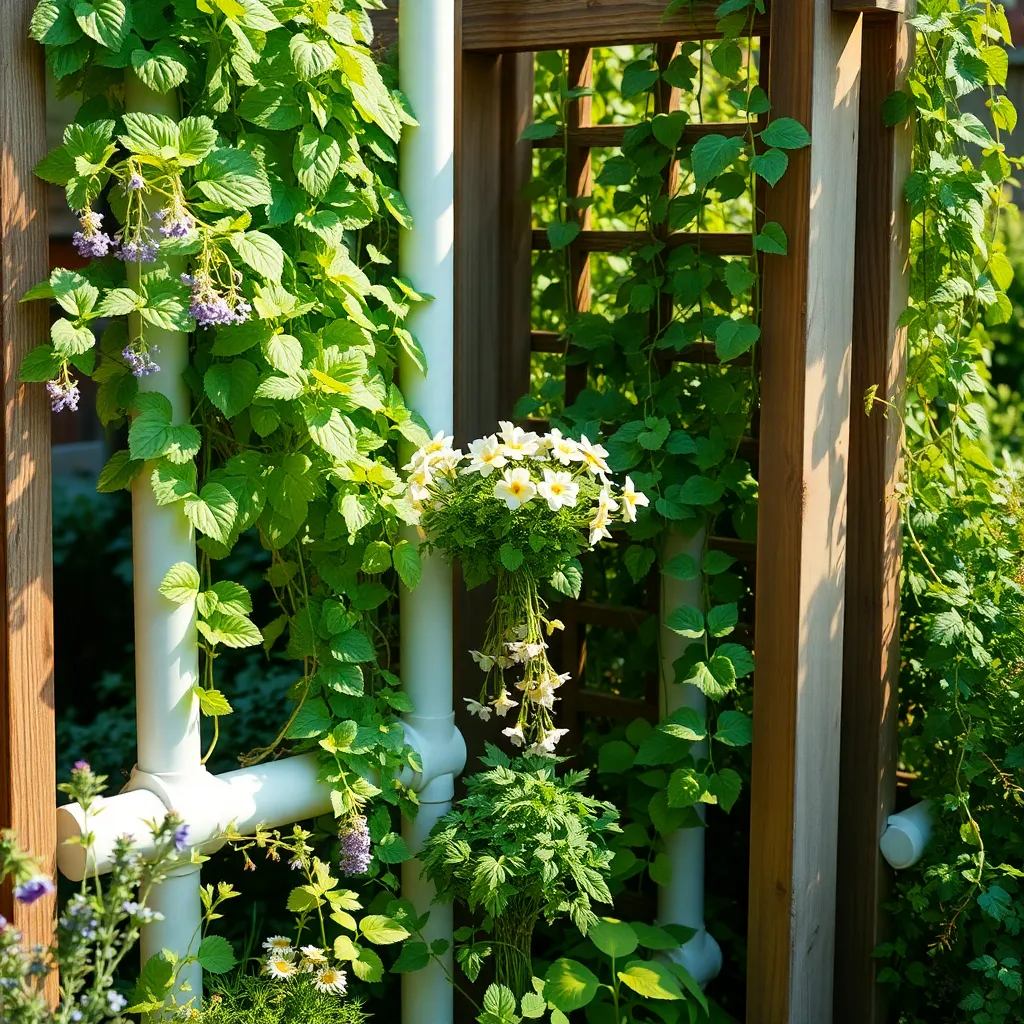
Transforming PVC pipes into vertical planters is a creative and space-saving solution for any garden. This project is perfect for those with limited space but a big interest in growing herbs or small plants.
To begin, choose a PVC pipe with a diameter of at least 4 inches to ensure adequate room for root growth. Cut the pipe into sections that suit your desired height, ensuring they are stable when placed vertically.
Drill holes evenly along the length of the pipe, spacing them about 4 inches apart to allow each plant enough space to thrive. Ensure the holes are large enough for the plant roots and soil but small enough to hold the plant securely.
Once your pipe is prepared, fill it with a well-draining potting mix suitable for the type of plants you wish to grow. For herbs, a mix containing peat moss and perlite works well, while succulents prefer a gritty, sandy soil.
When planting, press the roots gently through the holes and pack the soil lightly around them. Watering is crucial—aim to keep the soil consistently moist but not soggy, adjusting frequency based on your local climate.
For advanced gardeners, consider integrating a drip irrigation system to automate watering. This ensures each plant receives the optimal amount of water, particularly in warmer months.
Build Planter Boxes from Reclaimed Wood
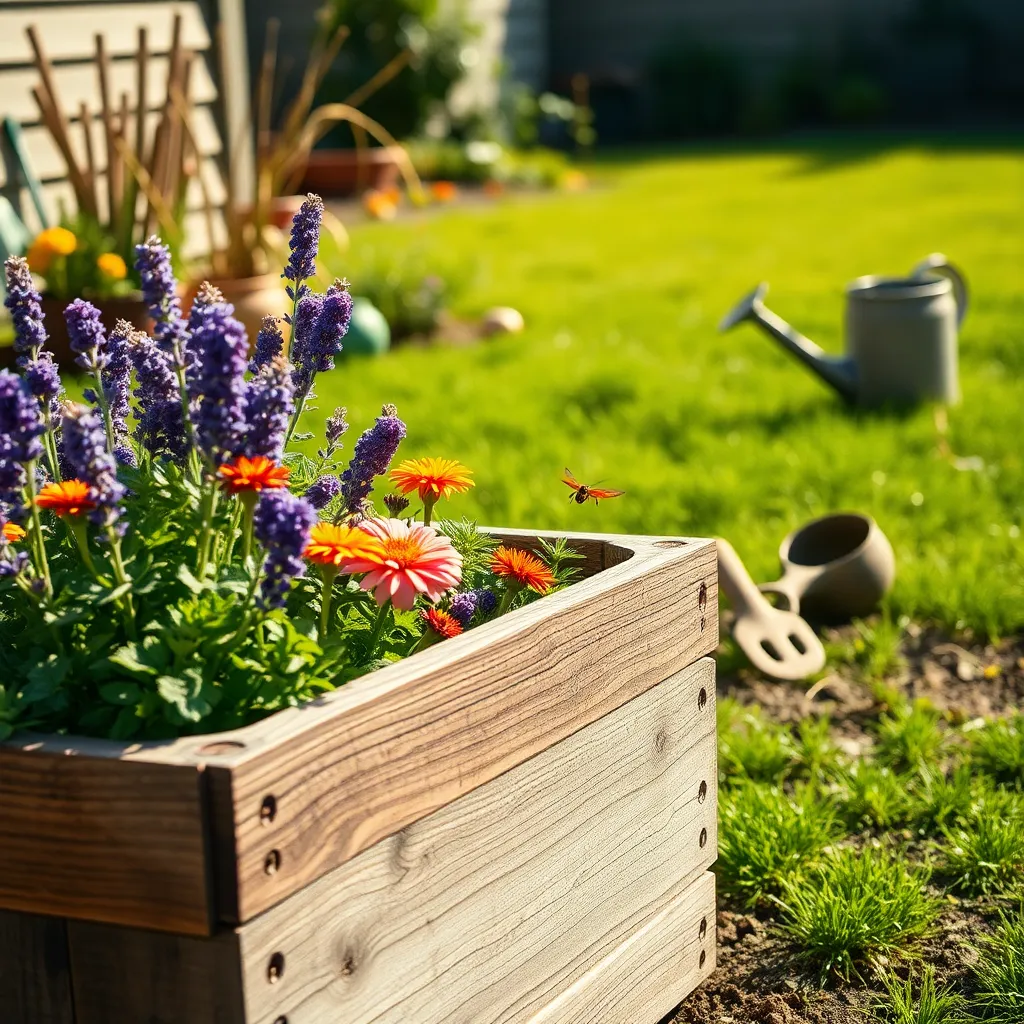
Transforming reclaimed wood into planter boxes is a sustainable way to enhance your garden. Not only does it give new life to otherwise discarded materials, but it also adds a rustic charm to your outdoor space.
Start by selecting sturdy pieces of wood that are free from rot and insect damage. It’s important to use wood that is untreated and free from chemicals to ensure your plants remain healthy and safe.
Measure and cut the wood to your desired dimensions, ensuring all sides fit snugly together. A typical size for a planter box is 2 feet long, 1 foot wide, and 1 foot deep, but you can adjust these dimensions to suit your space.
Assemble the pieces using galvanized screws, which resist rust and provide durability. For added strength, consider reinforcing the corners with metal brackets or additional wooden braces.
Line the inside of your planter with landscape fabric to prevent soil from escaping while still allowing water drainage. Ensure proper drainage by drilling holes at the bottom of the box and placing a layer of gravel beneath the soil.
Fill your planter with a high-quality, well-draining potting mix suitable for the plants you intend to grow. For vegetables, consider a mix enriched with compost or organic matter to provide ample nutrients.
Water your plants regularly, adjusting the frequency based on the plant type and weather conditions. Most plants prefer soil that is consistently moist but not waterlogged, so it’s crucial to monitor moisture levels carefully.
For those with more experience, consider adding a layer of mulch on top of the soil to help retain moisture and regulate temperature. This technique can also reduce weed growth, allowing your plants to thrive with minimal competition.
Convert Mason Jars into Herb Planters
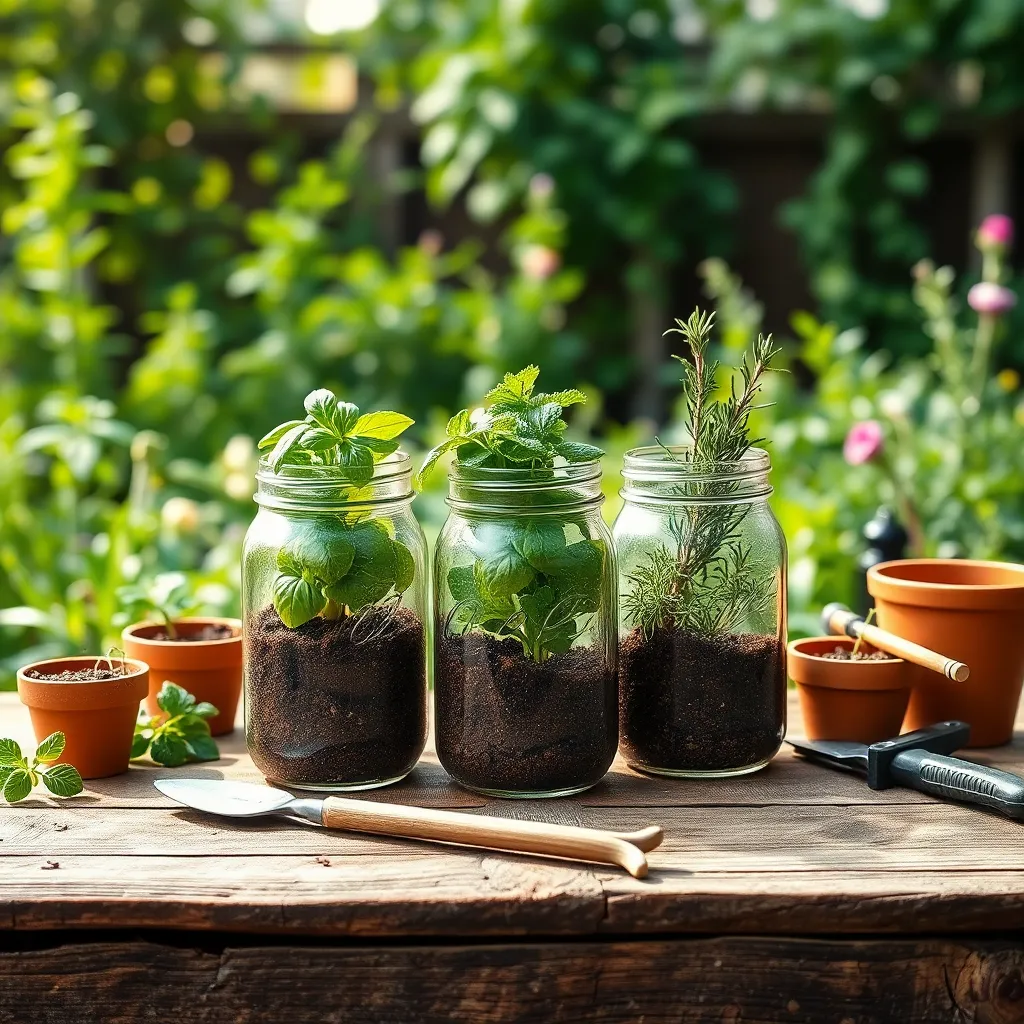
Transforming mason jars into herb planters is a simple and effective way to grow fresh herbs in your kitchen. To get started, ensure each jar has proper drainage by adding a layer of small stones or pebbles at the bottom.
Next, fill the jars with a high-quality potting mix that is well-draining to support herb growth. You can plant a variety of herbs such as basil, mint, or thyme, which thrive in indoor environments.
Position your mason jar planters in a sunny spot, like a windowsill, where they can receive at least six hours of sunlight daily. Regularly check the soil moisture and water the herbs when the top inch feels dry to the touch.
For those looking to expand their herb garden, consider using different jar sizes for a visually appealing setup. Advanced gardeners might experiment with hydroponic systems using mason jars, allowing herbs to grow without soil, which can be a fascinating and rewarding project.
Use Cinder Blocks for Modular Planters
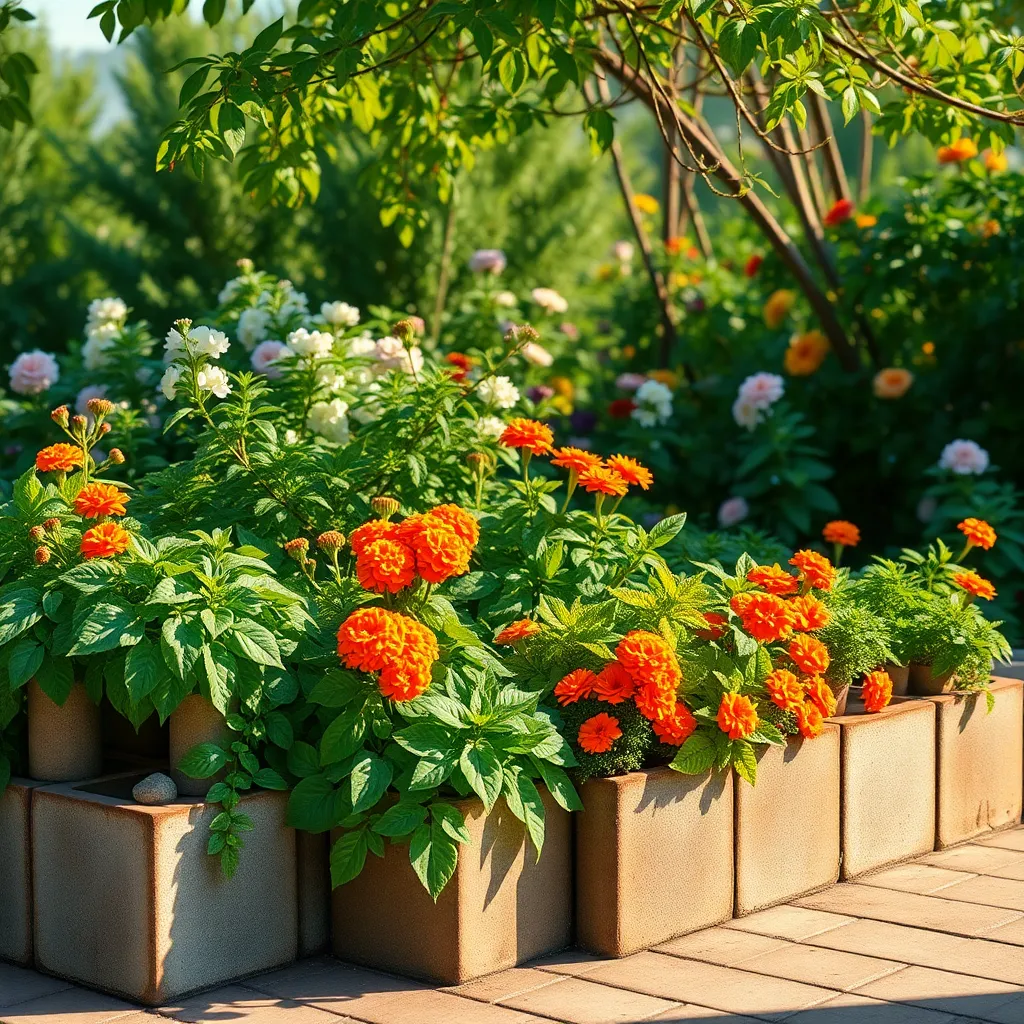
Transforming cinder blocks into modular planters is an excellent way to add a modern touch to your garden. These blocks are versatile and can be stacked in various configurations, allowing you to create unique designs that fit your space perfectly.
Start by arranging the cinder blocks in your desired pattern, ensuring they are stable and secure. Fill each block cavity with a well-draining potting mix, ideally one that contains a mix of peat, perlite, and compost to support plant health.
Once your blocks are filled, select plants that thrive in small spaces, such as succulents or herbs. Succulents require minimal watering, making them a low-maintenance choice, while herbs like thyme and oregano can thrive in partial sunlight and require regular watering to prevent them from drying out.
If you’re feeling adventurous, try adding a vertical element by stacking additional blocks on top of your base layer. This setup is perfect for trailing plants like creeping Jenny or ivy, which can cascade down the sides, adding texture and depth to your garden.
Make Planters from Wine Barrels
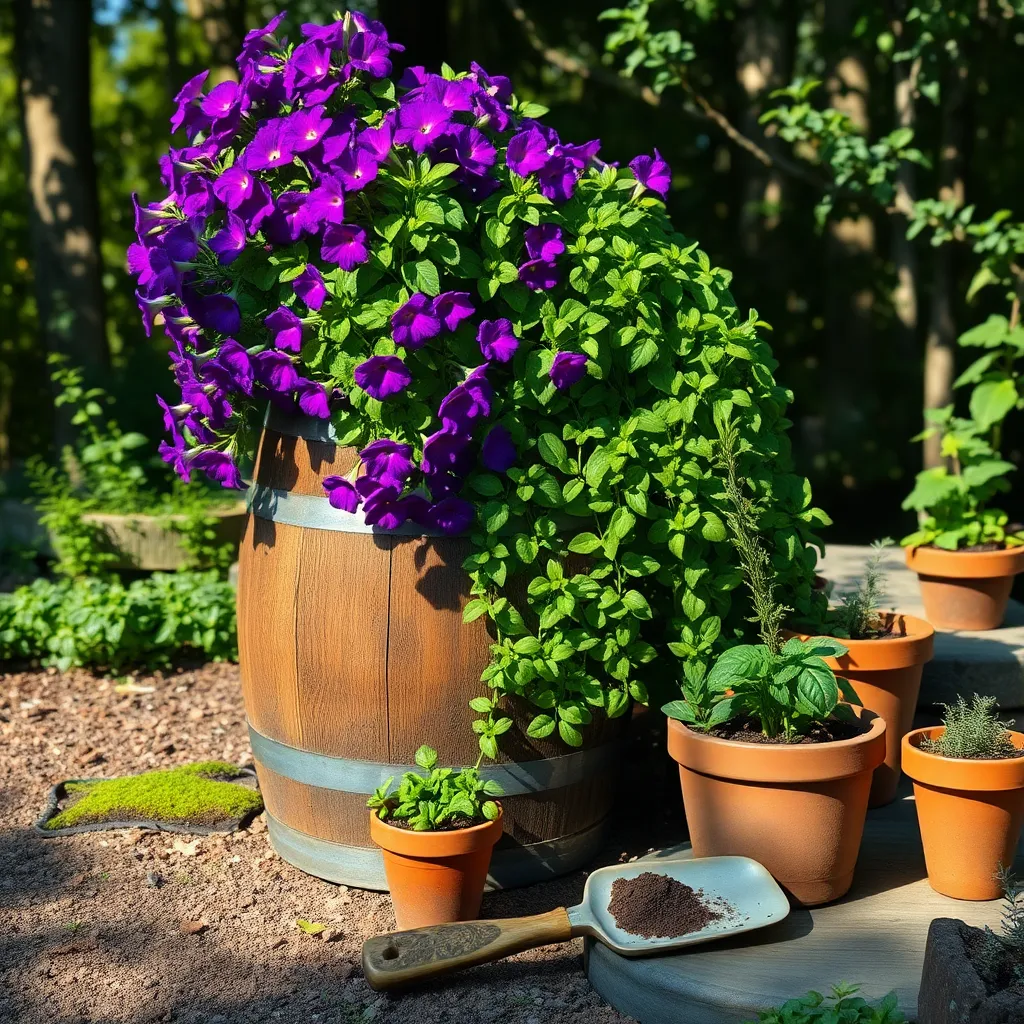
Transforming wine barrels into planters is both a sustainable and aesthetic choice for your garden. These large containers offer ample space, making them perfect for growing a variety of plants, from herbs and flowers to even small trees.
To start, cut the wine barrel in half, providing you with two generous planters. It’s important to drill drainage holes at the bottom of each half to prevent waterlogging, which can harm plant roots.
Choose a high-quality potting soil mix that retains moisture while allowing excess water to drain. Incorporating a mixture of compost and perlite can enhance soil aeration and nutrient content, benefiting your plants’ growth.
For beginners, consider planting herbs like basil, parsley, or mint, which thrive well in wine barrel planters. More experienced gardeners might opt for dwarf fruit trees, taking advantage of the barrel’s depth to accommodate their roots.
Design Planters with Old Gutters
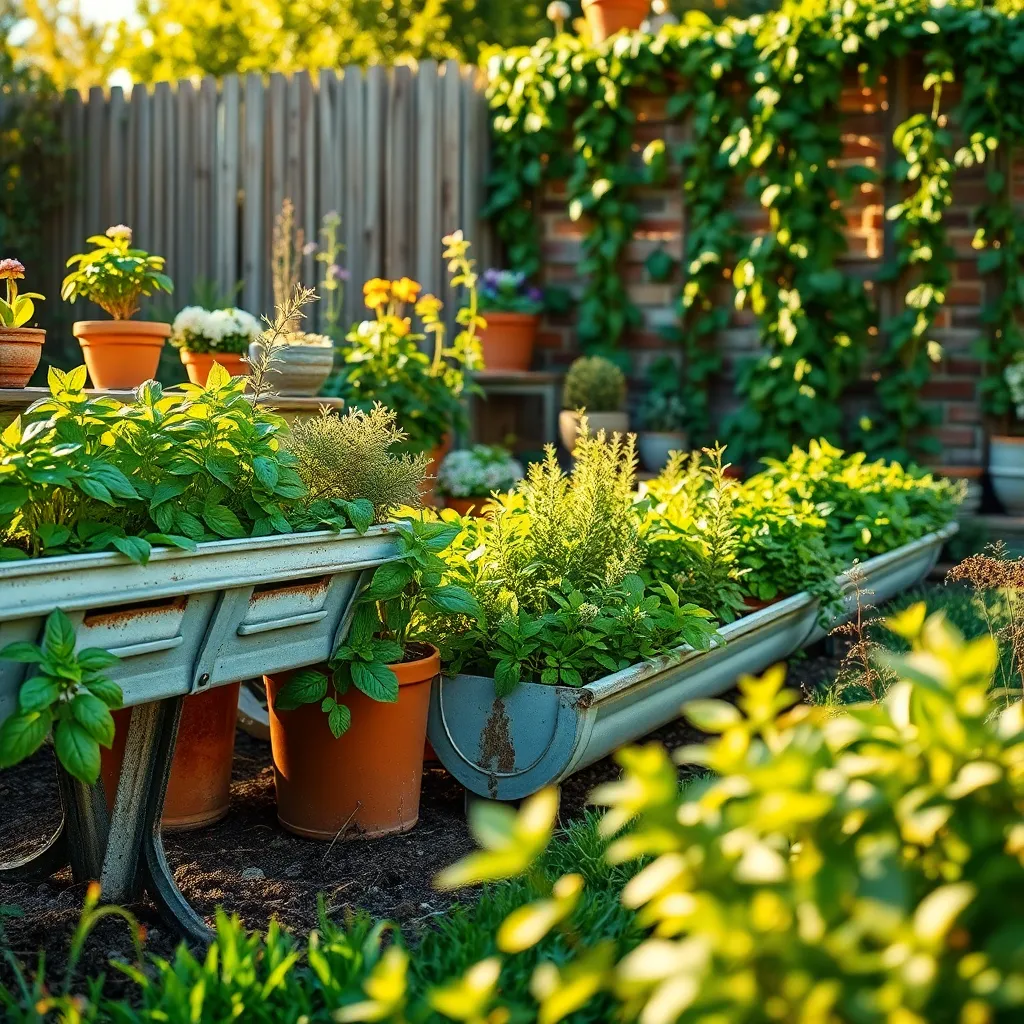
Repurposing old gutters into planters is an innovative way to add a vertical element to your garden. These planters are perfect for small spaces and can be easily mounted on walls or fences.
Begin by cleaning the gutters thoroughly to remove any debris and dirt. Drill holes at the bottom for drainage, ensuring that your plants won’t suffer from waterlogging.
Use a lightweight potting mix that retains moisture yet drains well, such as a mix of peat moss, perlite, and compost. This combination will support healthy root growth and provide nutrients for your plants.
Consider planting herbs like thyme, parsley, or small leafy greens, which thrive in shallow soil. Keep the gutters in a location where they can receive at least six hours of sunlight daily to ensure vigorous growth.
Regular watering is essential, especially since gutters can dry out quickly due to their limited soil volume. Water deeply but infrequently to encourage deep root growth and check the moisture level regularly.
Fashion Planters from Colanders
Transforming a colander into a planter is a creative way to add charm to your garden while promoting good drainage. Start by selecting a metal or plastic colander, ensuring it has multiple holes to facilitate water flow and prevent root rot.
Fill the colander with a high-quality potting mix, ideally one that retains moisture but also drains well, such as a mix containing perlite or vermiculite. Consider adding a layer of gravel or small stones at the bottom for additional drainage.
Choose plants that thrive in well-draining conditions, such as succulents, herbs, or small flowering plants like pansies or petunias. Position the colander in a spot where it receives adequate sunlight, adjusting the placement based on the plant’s light requirements.
Water your colander planter regularly but be cautious not to overwater, as the drainage holes will allow excess water to escape easily. For an advanced touch, consider adding a slow-release fertilizer to the soil to provide nutrients over time, promoting healthy growth throughout the season.
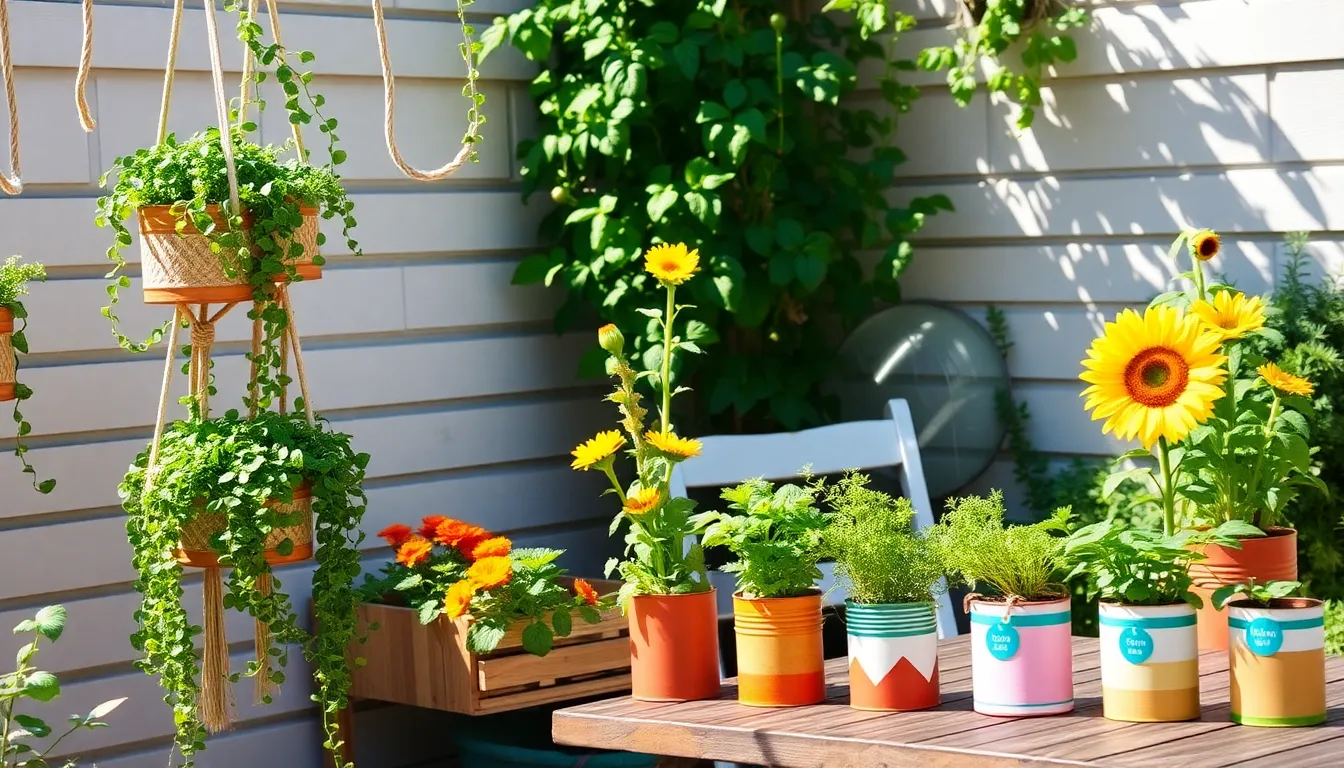
Upcycle Plastic Bottles into Planters
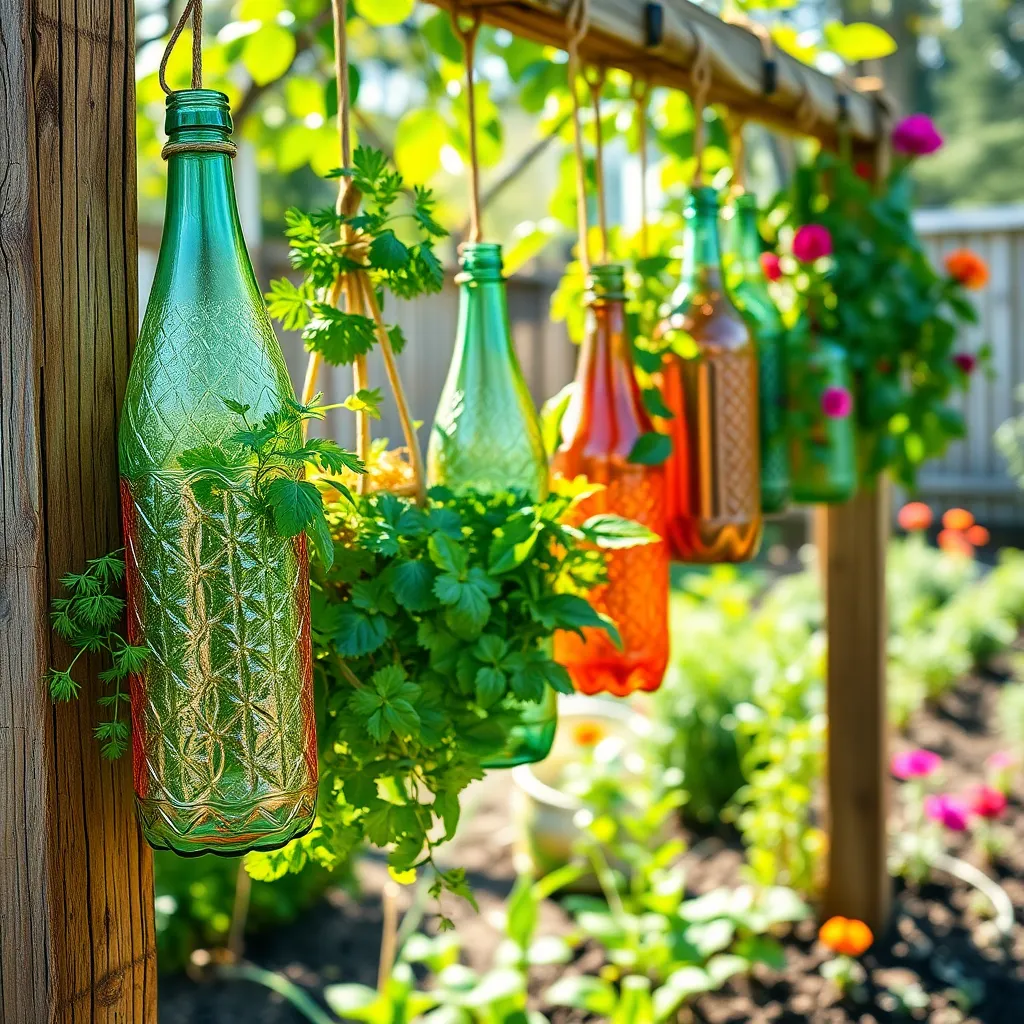
Transforming plastic bottles into planters is an excellent way to reduce waste while enhancing your garden’s charm. Begin by cutting the bottle in half and using the bottom portion as your planter, ensuring there are drainage holes to prevent waterlogging.
Choose plants that thrive in small spaces, such as herbs or succulents, which require minimal soil and are easy to care for. Fill the bottle with a well-draining soil mix, such as a combination of potting soil, perlite, and a little sand to enhance drainage.
Place your new planter in a spot that matches the light requirements of the plant you’ve chosen. For instance, succulents prefer bright, indirect sunlight, while herbs like parsley can tolerate partial shade.
Water the plants carefully, ensuring the soil remains moist but not soggy, by checking the top inch of soil before watering. To give your plants a nutrient boost, consider adding a diluted liquid fertilizer every few weeks during the growing season.
Assemble Planters with Metal Buckets
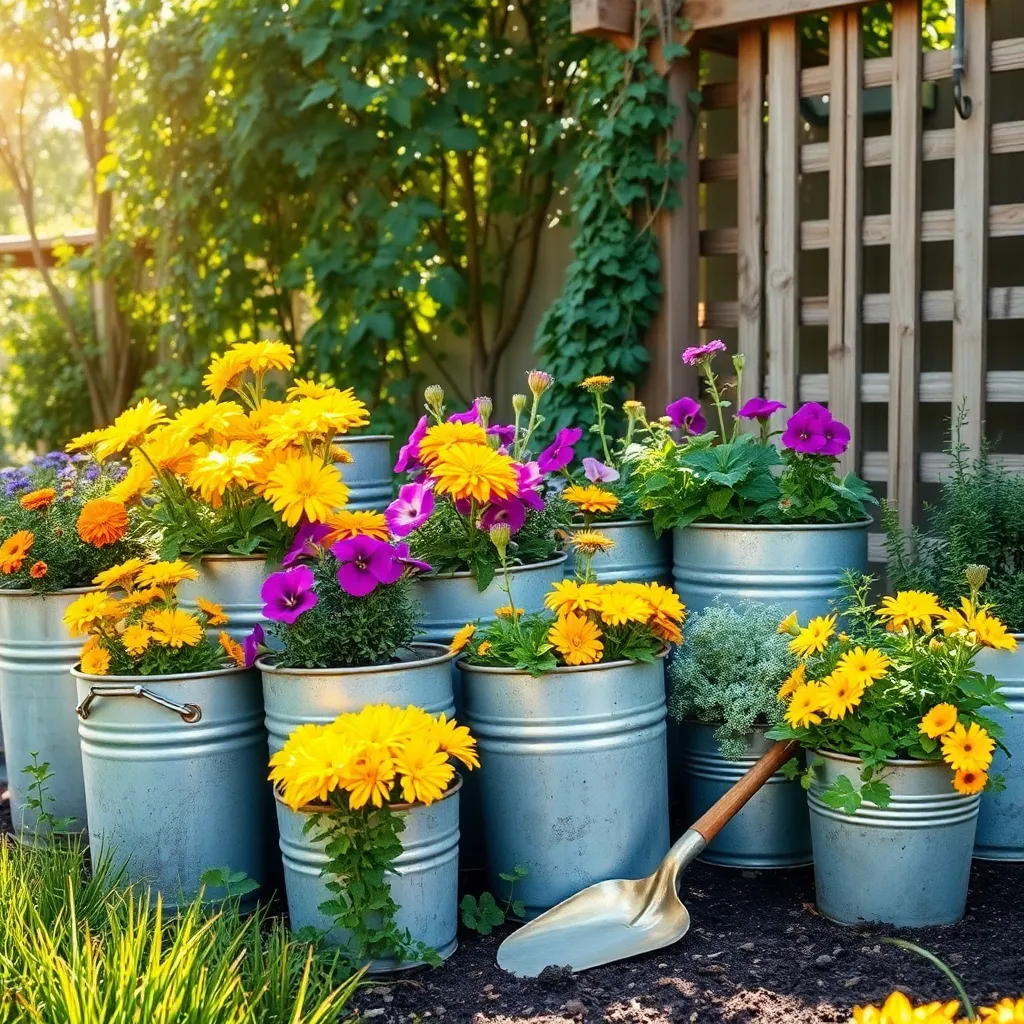
Transforming metal buckets into planters is an easy and stylish way to add a rustic touch to your garden. To start, ensure the buckets have proper drainage by drilling holes in the bottom, which prevents water from pooling and roots from rotting.
Fill the buckets with a quality potting mix that includes a mix of peat, perlite, and organic matter to provide good aeration and drainage. For beginners, it’s helpful to know that metal buckets can heat up in the sun, so positioning them in a spot with partial shade can protect your plants from overheating.
Consider planting herbs such as basil or parsley, which thrive in containers and require full sun and regular watering to flourish. For more experienced gardeners, try experimenting with succulents, which are drought-tolerant and require less frequent watering, making them ideal for metal containers.
Adding a layer of mulch can help retain moisture in the soil, reducing the need for frequent watering. Finally, remember to elevate the buckets slightly using bricks or pot feet to ensure excess water drains freely, preventing the bucket from rusting and extending its lifespan.
Turn Old Drawers into Garden Planters

Transforming old drawers into garden planters is a creative way to recycle furniture and enhance your garden’s charm. Begin by ensuring your drawer is sturdy and free from structural damage, which provides a solid base for your plants.
Drill several drainage holes in the bottom of the drawer to allow excess water to escape, preventing root rot. Line the inside with landscape fabric to keep the soil contained while allowing water to drain.
Fill the drawer with a mix of high-quality potting soil and compost, ensuring a nutrient-rich environment for your plants. For beginners, consider planting easy-to-grow herbs like basil or mint, which thrive in a range of conditions.
Advanced gardeners might experiment with a mix of perennials and annuals, creating a dynamic display that changes with the seasons. Regular watering is crucial; aim to keep the soil consistently moist but not waterlogged, adjusting based on the plant type and climate conditions.
Construct Planters from Concrete Molds
Constructing planters from concrete molds can be a rewarding DIY project that adds a modern touch to any garden. To start, gather materials such as concrete mix, water, a mold, and a mixing bucket—these are essential for crafting durable planters.
Choose a mold that suits your desired planter shape and size; silicone molds work well due to their flexibility. Mix the concrete according to package instructions, ensuring a smooth consistency for even pouring into the mold.
Once the concrete is mixed, pour it carefully into the mold, tapping the sides to remove air bubbles. Allow the concrete to cure for at least 24-48 hours; patience is key to achieving a strong and crack-free planter.
After curing, remove the mold gently to unveil your new planter. Drill drainage holes if your design didn’t include them; proper drainage is crucial to prevent root rot and promote healthy plant growth.
Fill your concrete planter with a mix of potting soil and coarse sand to provide excellent drainage and aeration. Water plants according to their needs, generally once the top inch of soil feels dry, and consider the light requirements of your chosen species.
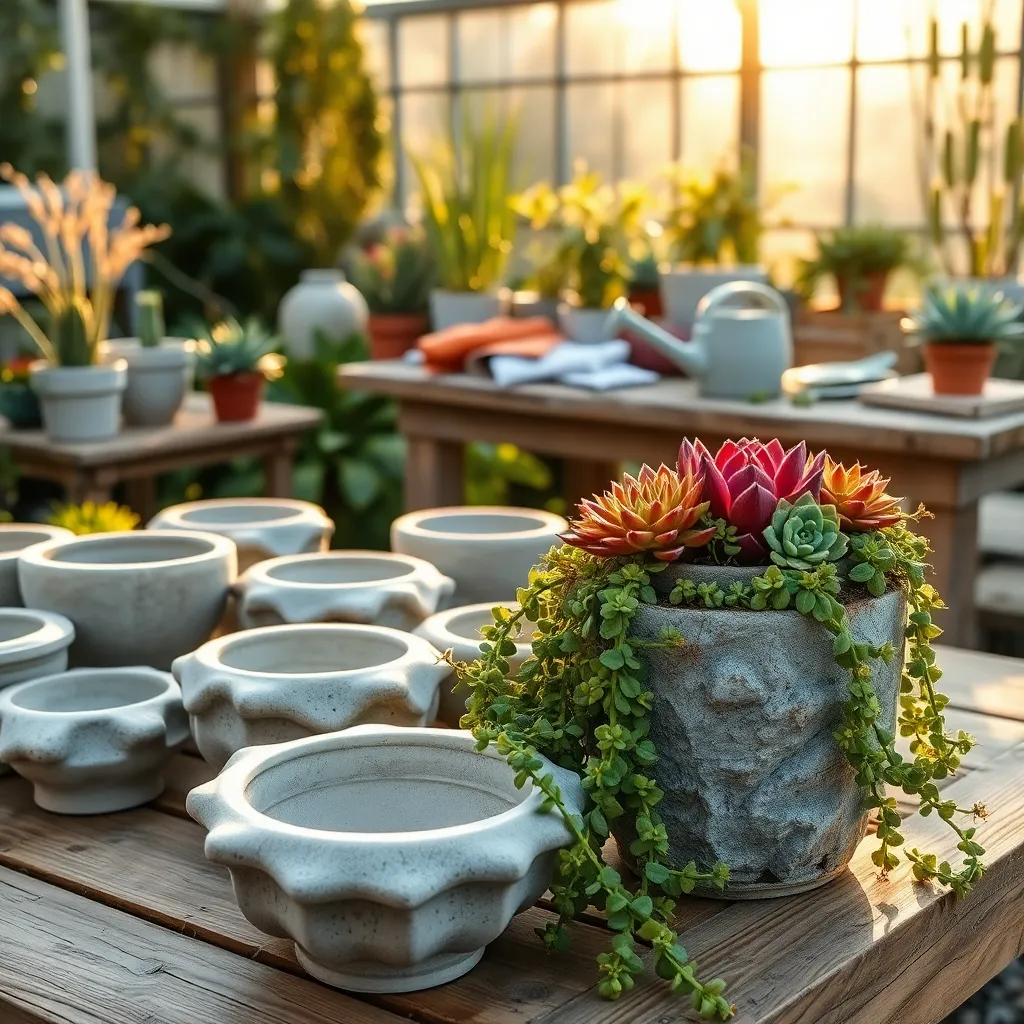
Use Baking Tins for Succulent Planters
Transform old baking tins into charming succulent planters to add a unique touch to your garden without breaking the bank. These tins provide excellent drainage when a few holes are drilled at the bottom, ensuring succulents thrive with minimal effort.
Start by choosing a variety of succulents that are visually appealing and suited to your climate. Succulents like Jade Plant, Aloe Vera, and Hen and Chicks are excellent choices due to their resilience and low water needs.
Fill each tin with a well-draining soil mix specifically formulated for succulents and cacti. This type of soil prevents root rot by allowing excess water to escape easily, which is crucial for healthy plant growth.
Position your succulent planters in a spot that receives at least six hours of bright, indirect sunlight each day to promote strong, vibrant growth. Water your succulents sparingly, allowing the soil to completely dry out between waterings to mimic their natural arid environment.
For those looking to enhance their planters’ aesthetic appeal, consider painting the tins with weather-resistant paint. Adding a layer of small pebbles or gravel on top of the soil not only improves the look but also helps retain moisture at the plant’s base.
Conclusion: Growing Success with These Plants
In exploring ’15 DIY Planter Ideas for Your Garden,’ we’ve uncovered not just creative ways to enhance your green space, but also significant relationship insights. From nurturing growth in your partnership like a flourishing garden, to understanding the importance of creativity and effort in maintaining bonds, each DIY project mirrors a vital concept in building lasting relationships. The shared experiences of crafting together can deepen your connection, while the patience required in gardening teaches empathy and communication. Now, take the next step: choose one DIY planter idea and embark on it with your loved one this weekend. Watch as both your project and relationship blossom. To ensure these insights remain at your fingertips, bookmark this article for future reference and inspiration. Remember, much like a well-tended garden, a thriving relationship is built on consistent care and shared endeavors. Keep nurturing your bonds, and your partnership will continue to grow strong and resilient. Here’s to the success of your relationships, both present and future—may they be as vibrant and enduring as the gardens you create together.