Gardening is a delightful dance with nature, and inviting birds into your garden can transform that dance into a symphony. Whether you’re a seasoned gardener or just starting to cultivate your green thumb, creating a DIY bird feeder is a rewarding project that promises to bring life, color, and song to your outdoor space. Birds are not just charming garden guests; they are also natural pest controllers, contributing to the health and vitality of your garden ecosystem. By embarking on this simple and enjoyable project, you’ll learn how to support these feathered friends while enhancing your garden’s biodiversity.
This article will guide you through crafting your very own bird feeder using materials that are readily available and often recycled, making it an environmentally friendly endeavor. From choosing the right design to understanding the best locations for placement, you’ll gain insights that cater to both aesthetic appeal and practicality. For those new to gardening, this project offers a perfect introduction to the joys of creating a wildlife-friendly environment. Experienced gardeners will appreciate the added layer of complexity and satisfaction that comes from designing a space that is not only beautiful but also ecologically supportive.
Prepare to discover how a simple DIY project can create a ripple of positive change in your garden. You’ll explore techniques for attracting a variety of bird species, ensuring that your garden becomes a haven of activity and song. As you open your garden to these delightful creatures, you’ll find that the rewards extend beyond the visual and auditory; they also foster a deeper connection with the natural world. By the end of this article, you’ll be equipped with the knowledge and inspiration needed to craft a bird feeder that is both a functional masterpiece and a testament to your growing gardening skills.
Select Suitable Feeder Materials
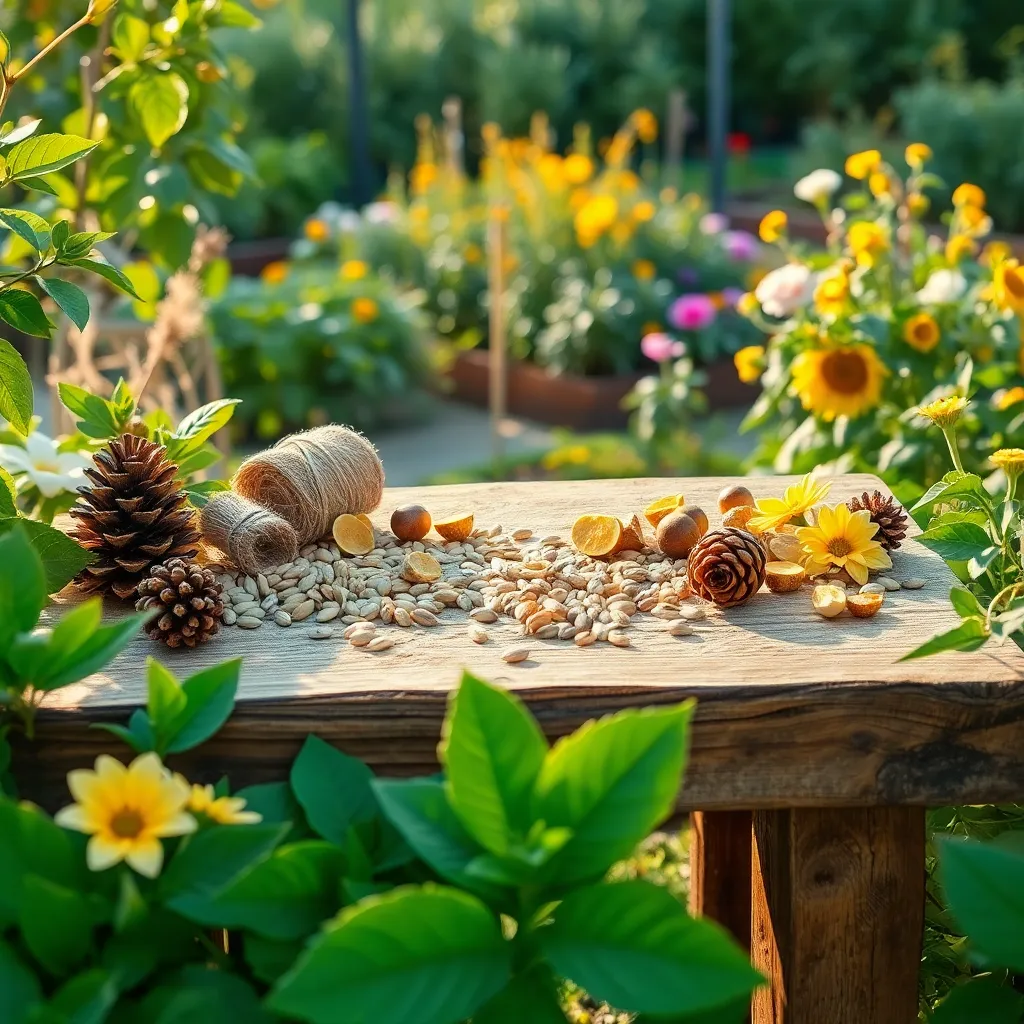
Choosing the right materials for your DIY bird feeder is crucial for attracting various bird species to your garden. Opt for natural, untreated wood as it is safe for birds and blends well with the garden environment.
Incorporate recycled materials such as plastic bottles or tin cans to create an eco-friendly feeder. Ensure these materials are thoroughly cleaned and have no sharp edges that might harm the birds.
Consider using metal mesh or wire for feeders that will hold seeds or suet. These materials are durable and can withstand various weather conditions while keeping the food accessible to birds.
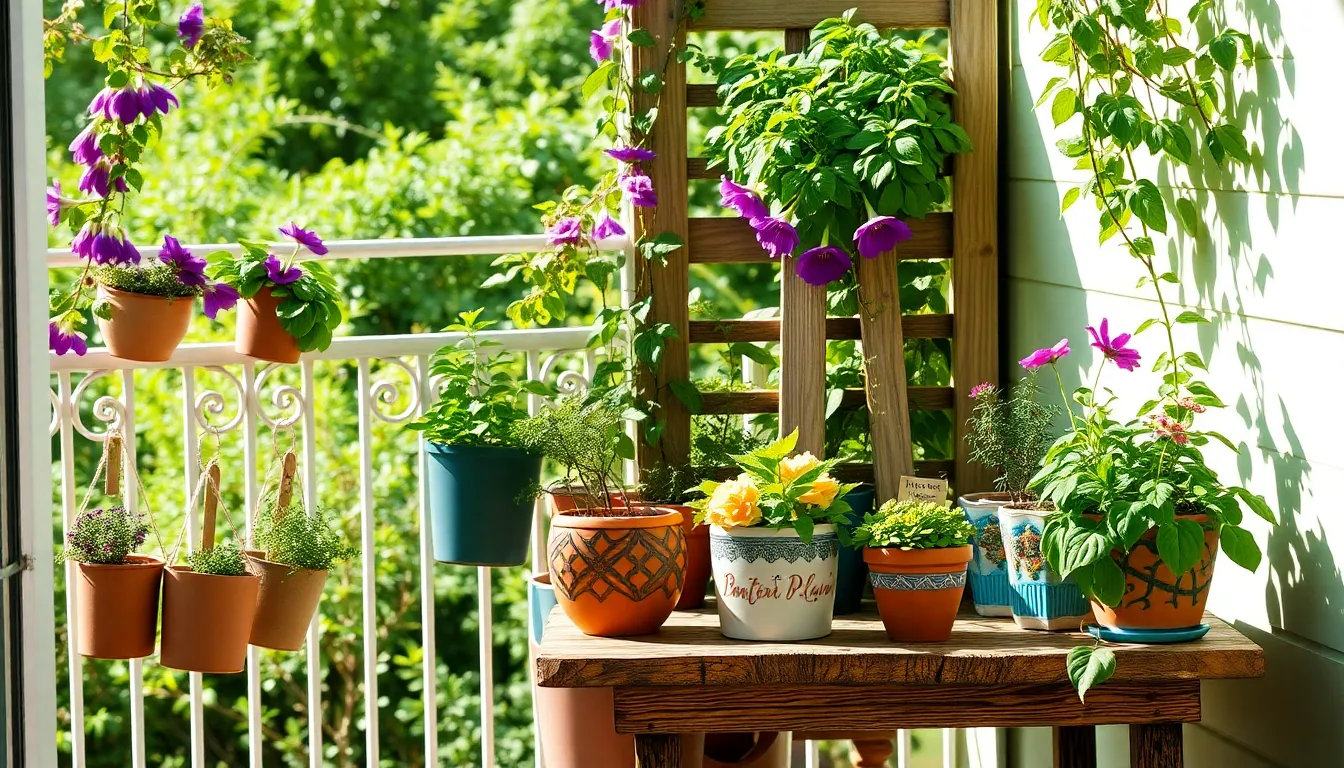
Some gardeners prefer using ceramic or clay pots for a more aesthetically pleasing design. These materials are not only sturdy but also add a rustic charm to your garden while being functional as bird feeders.
Cut and Shape the Feeder
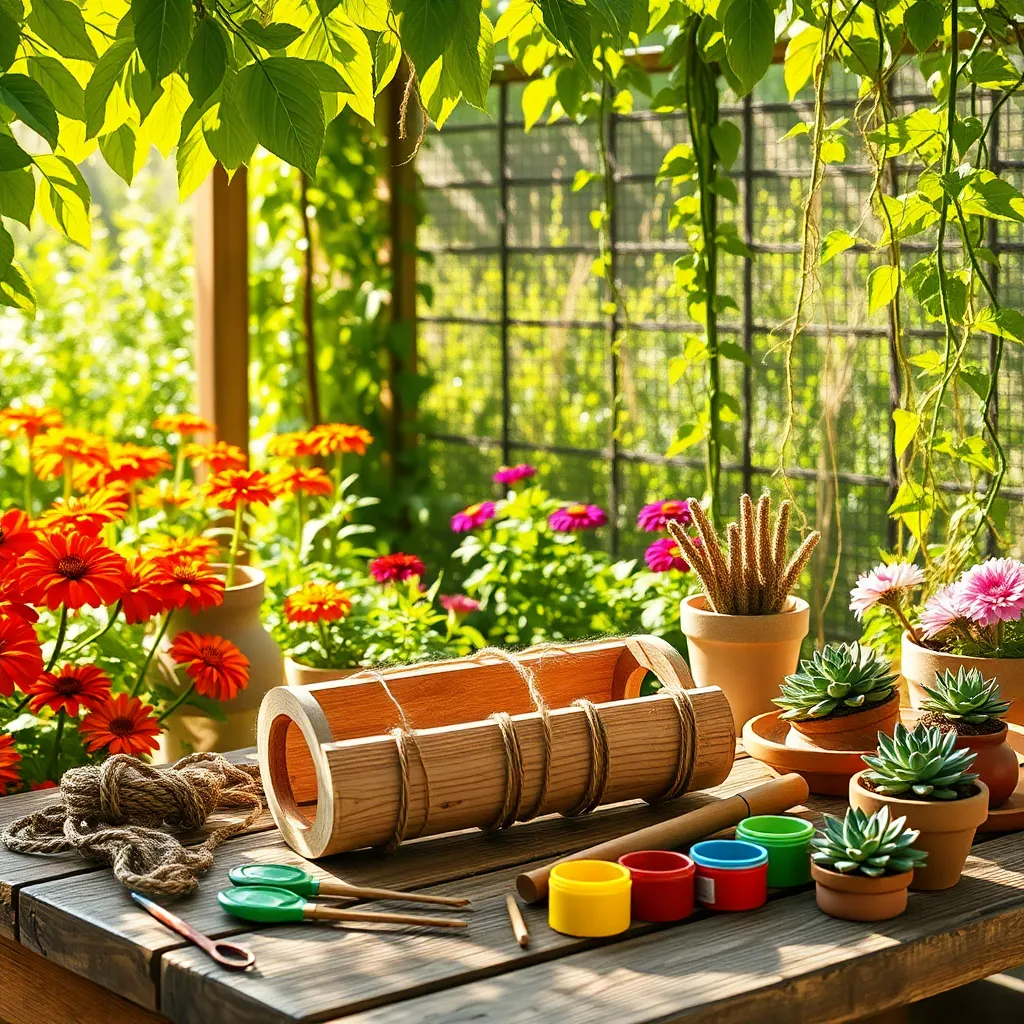
Once you have gathered your materials, begin by selecting the appropriate tool to cut your feeder. A sturdy pair of scissors or a small saw can help you achieve clean cuts, depending on the material you’re working with. For plastic bottles, a sharp utility knife is often the best choice, allowing for precise cuts without cracking the material. If using wood, a coping saw or jigsaw will give you the control needed for intricate shapes.
Measure and mark where you need to cut to ensure your feeder’s dimensions are suitable for the types of birds you wish to attract. Use a measuring tape or ruler for accuracy, and consider the size of the bird species common in your area. Providing a variety of hole sizes and shapes can cater to different birds, from small songbirds to larger species. Always wear gloves and eye protection to keep safety a priority while cutting.
Next, shape the openings where birds will access the food, ensuring they are smooth and free from sharp edges. Sandpaper or a file can be used to smooth any rough edges, making it safe for bird visitors. Remember to create perches or landing spots near the feeding holes if your design allows, as this can make the feeder more inviting. For a more advanced touch, consider adding drainage holes to prevent water buildup, which helps keep the seed dry and fresh.
Consider the overall shape and balance of the feeder to ensure it hangs evenly and functions well in your garden. A well-balanced feeder minimizes seed spillage and remains more stable in windy conditions. If you’re incorporating a roof or cover, make sure it offers adequate protection from rain while allowing easy access for refilling. By carefully cutting and shaping your feeder, you not only enhance its functionality but also its aesthetic appeal, making it a delightful addition to your garden.
Assemble and Secure Components
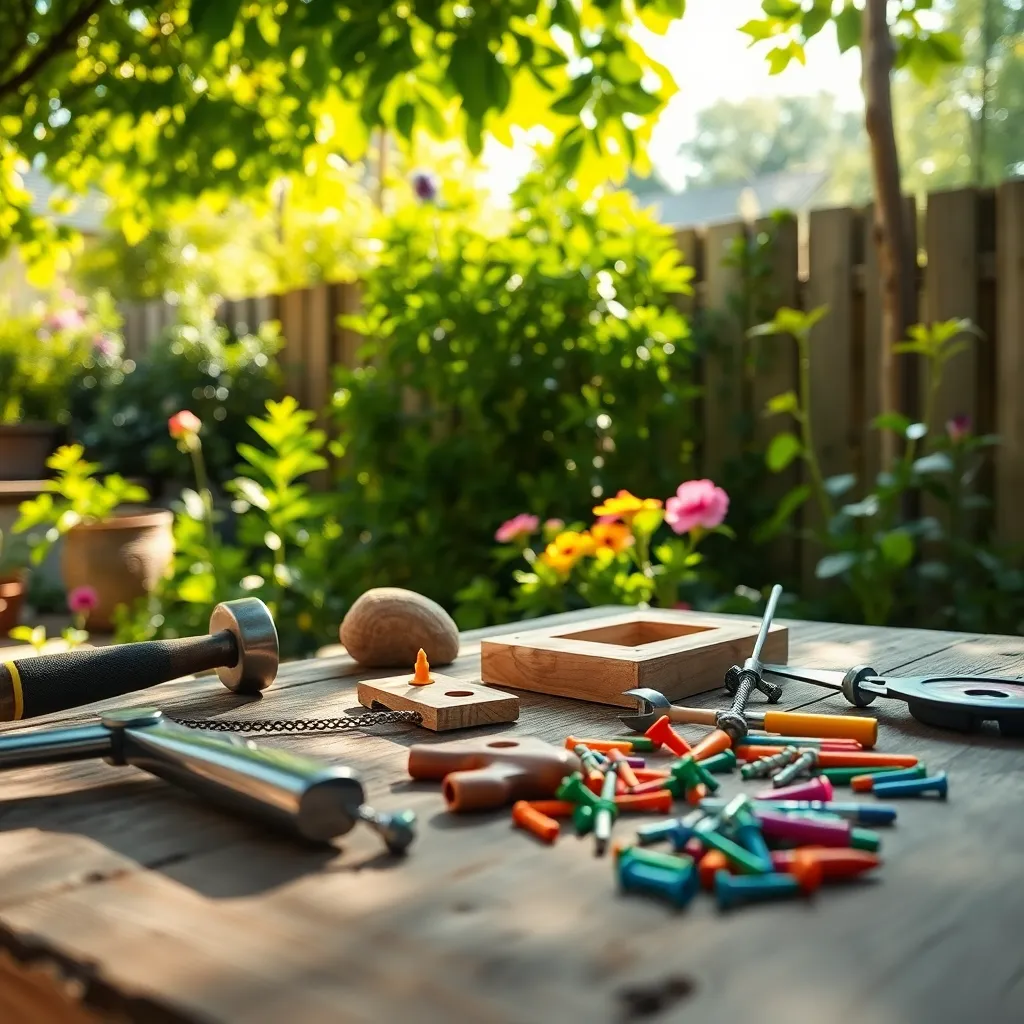
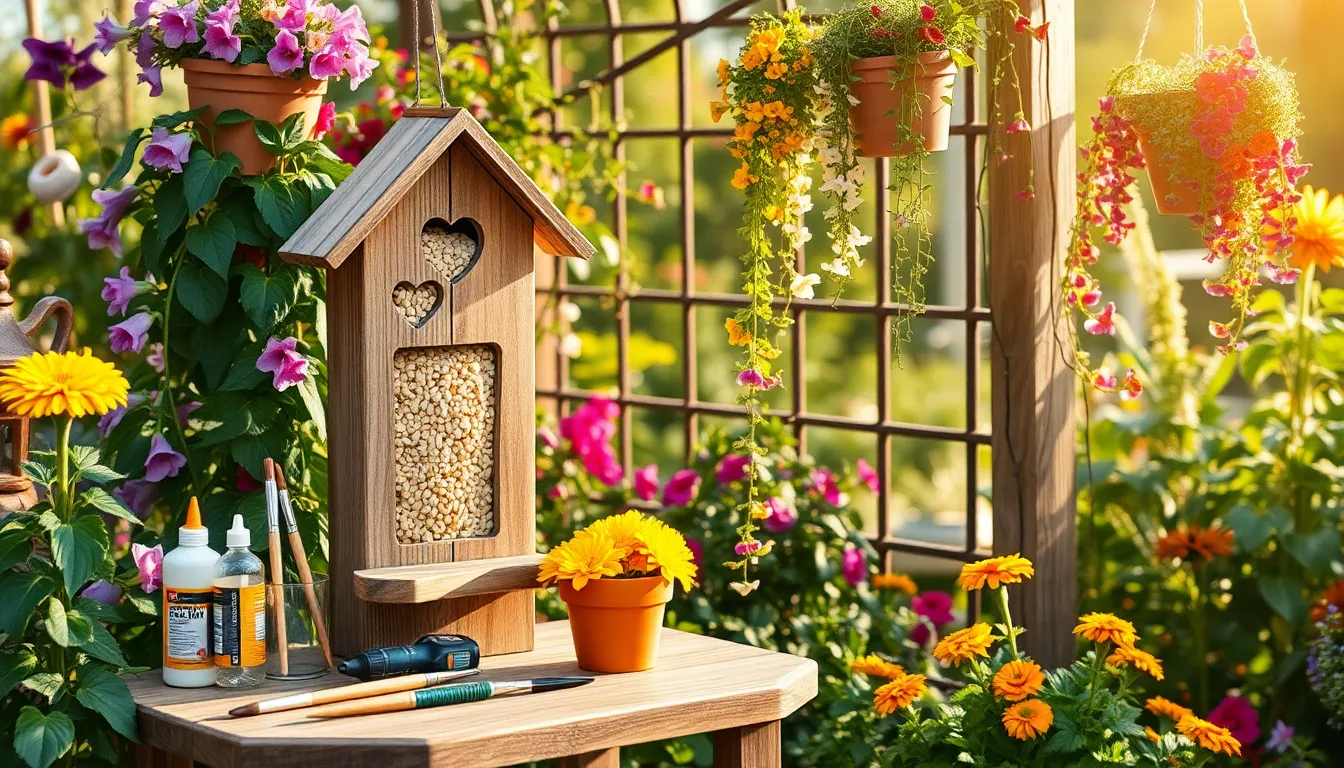
Once you’ve cut and shaped the components of your bird feeder, it’s time to assemble and secure them. Begin by laying out all the pieces on a flat surface to ensure you have everything you need. Use waterproof wood glue to join wooden parts, as this will provide a strong, lasting bond even in wet conditions. Allow the glue to dry completely before proceeding, which usually takes about 24 hours.
After the glue has set, reinforce the joints with small screws or nails for extra stability. This step is crucial if you live in areas with high wind or frequent storms, as it will help prevent your feeder from falling apart. Use a drill with a small bit to pre-drill holes, which will prevent the wood from splitting when you insert screws or nails.
If your design includes a roof, ensure it’s securely attached to protect the bird seed from rain. Consider adding a small overhang to further shield the feeding area. To attach the roof, you can use hinges for easy access when refilling, or fix it permanently if your feeder allows for side openings. Make sure any metal components, like hinges or screws, are rust-resistant to extend the life of your feeder.
Once assembled, find a suitable spot in your garden to hang or mount the bird feeder. Opt for a location that’s visible from your windows but away from potential predators, like cats. Secure the feeder with sturdy hooks or brackets to prevent it from swaying too much in the wind. Regularly check the stability of your mounting solution, especially after storms or high winds, to ensure your feeder remains a safe place for birds to visit.
Add Perches and Seed Openings
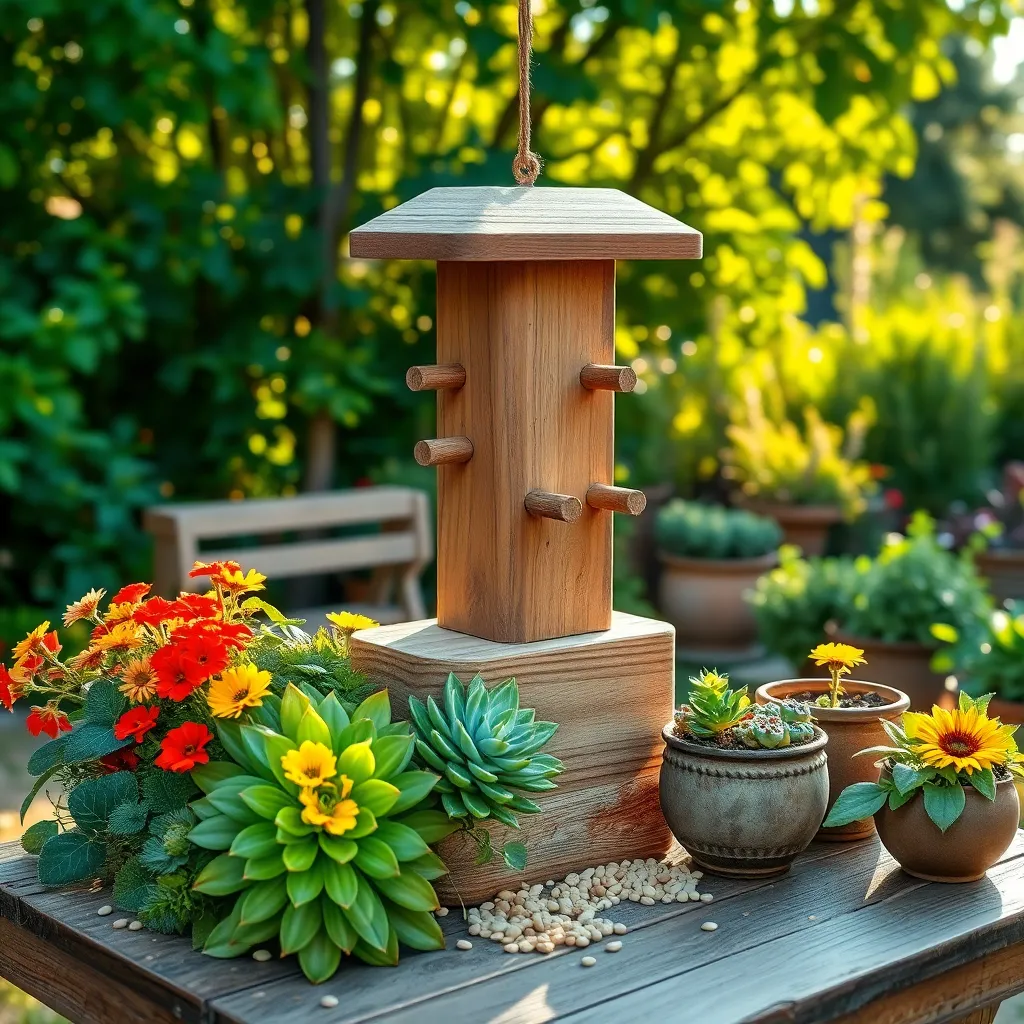
To attract a variety of birds, it’s crucial to add perches and seed openings to your DIY bird feeder. Consider using natural materials like wooden dowels or sturdy branches for perches, as they provide a comfortable landing spot for birds of all sizes.
Drill small holes in your feeder that are just large enough for seeds to spill out. Position these seed openings strategically around the feeder to ensure birds can access food from multiple angles, reducing competition and encouraging diverse bird visits.
Space the perches appropriately to accommodate both small and large birds; typically, a perch length of 2 to 4 inches works well. Install the perches just below the seed openings to allow easy access for birds to feed without having to struggle.
Regularly clean and maintain your feeder to prevent seed rot and mold, which can deter birds and harm their health. Use a mild soap solution and rinse thoroughly with water, letting it dry completely before refilling with fresh seeds.
Hang Feeder in Ideal Location
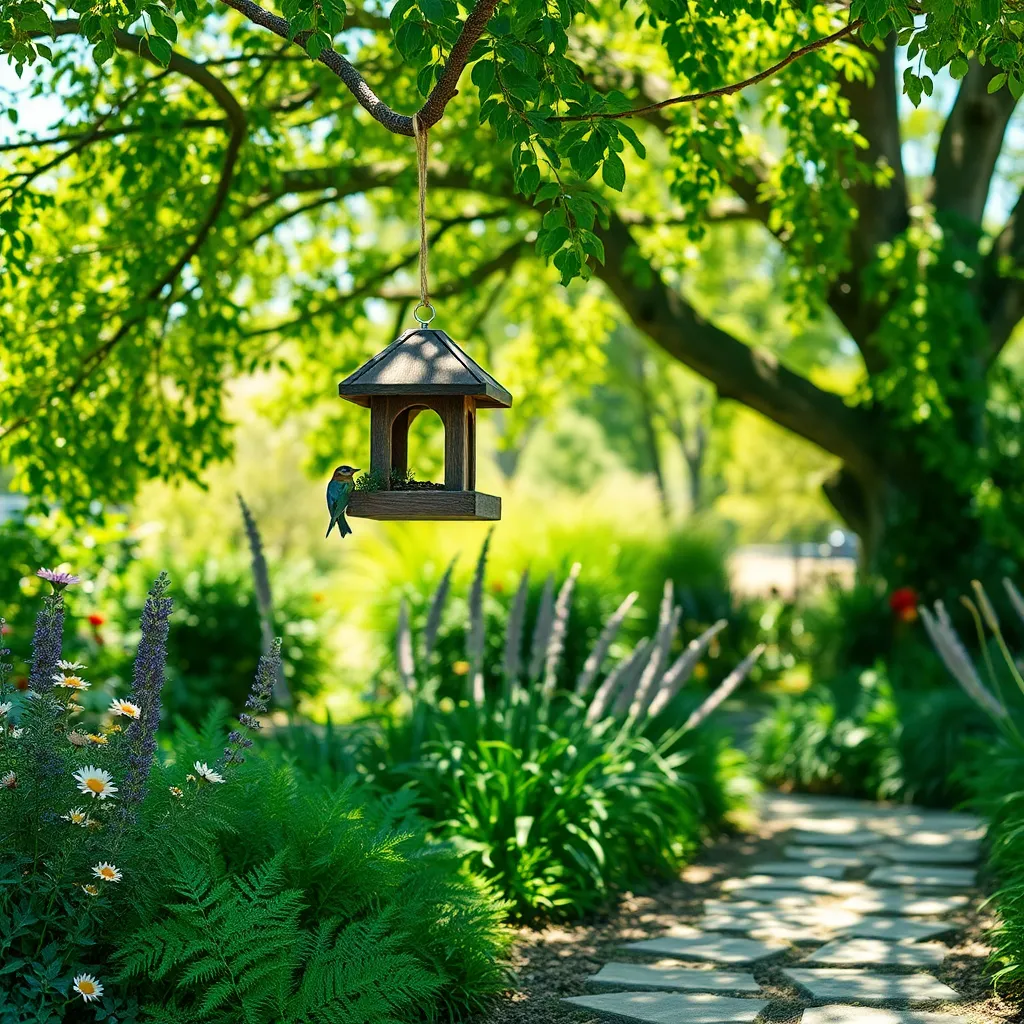
Once your bird feeder is assembled, it’s time to select the perfect spot to hang it in your garden. Choose a location that’s visible from your home so you can enjoy watching the birds, but also ensure it’s safe for them to visit.
Consider placing your feeder near shrubs or trees, which can provide birds with shelter and a quick escape route from predators. Avoid areas that are easily accessible to cats or other potential threats to ensure the safety of your feathered visitors.
The height at which you hang your feeder is also important. Ideally, position it at least five feet off the ground to prevent interference from small animals like squirrels, while still being accessible to birds. Avoid hanging feeders too high as this can make refilling and cleaning difficult.
For those with a bit more experience, you might want to experiment with different feeder locations to see where you get the most bird traffic. Additionally, consider rotating feeder locations every few weeks to prevent the buildup of bird droppings and to keep the feeding area healthy and inviting.
Conclusion: Growing Success with These Plants
In exploring how to craft a DIY bird feeder, we delved into five fundamental relationship concepts: fostering connection through shared activities, nurturing communication as you plan and create together, building trust by relying on each other’s strengths, enhancing patience while embracing the learning process, and celebrating accomplishments to boost shared joy. These elements not only strengthen your bond with loved ones but also bring life and beauty to your garden.
As an immediate next step, why not gather your materials and start this delightful project today? It’s a perfect opportunity to apply these relationship principles right away. Remember, the magic of relationships often lies in the little moments spent together.
To make the most of this enriching experience, bookmark this article for future reference. It will serve as a handy guide, reminding you of the joy and connection DIY projects can cultivate. As you continue to nurture your relationships, keep in mind that investing time and effort into shared activities lays a strong foundation for lasting relationship success. Empower yourself to create meaningful moments, and watch your relationships flourish like the garden you’re about to nourish.