Starting seeds indoors is a cherished ritual for gardeners, whether you’re a seasoned pro or just beginning your green-thumb journey. It’s a process that holds the promise of springtime blooms and bountiful harvests, but it can be fraught with unexpected pitfalls. Knowing how to navigate these can make all the difference between a thriving garden and one that struggles to take root.
In this article, we’ll delve into the common missteps that gardeners often encounter when starting seeds indoors. You’ll learn practical tips and strategies to avoid these errors, ensuring your seedlings grow strong and healthy. By understanding the nuances of indoor seed starting, you can transform your gardening experience into one of success and satisfaction. Let’s embark on this journey together and cultivate the garden of your dreams from the very first sprout.
Inadequate Light for Seedlings

One common mistake when starting seeds indoors is providing inadequate light, which can lead to weak, leggy seedlings. It’s crucial to place your seedlings in a spot where they receive at least 12 to 16 hours of bright, indirect light each day.
Consider investing in grow lights, especially if natural light is limited in your home. Position the lights 2 to 4 inches above the seedlings and adjust as they grow to maintain optimal lighting conditions.
For beginners, using a timer can simplify maintaining consistent light exposure. Set the timer to ensure that seedlings receive their required hours of light daily, mimicking the natural day-night cycle.
Advanced gardeners can experiment with different types of grow lights, such as LED or fluorescent, to cater to specific plant needs. LED lights are energy-efficient and offer full-spectrum lighting, which can be beneficial for a wide range of plants.
Remember that seedlings also need a period of darkness to rest and metabolize nutrients properly. Avoid continuous light exposure, as this can stress the plants and hinder their development.
Overwatering and Dampening Off
Overwatering is a common mistake that can lead to adverse conditions for your seedlings. To prevent this, ensure that your seed-starting mix is moist but not soggy, and always use containers with drainage holes.
Instead of watering on a fixed schedule, check the moisture level by gently touching the soil surface. If the top inch feels dry, it’s time to water, but if it’s still damp, wait a day or two.
Using a spray bottle can help control the amount of water applied, reducing the risk of overwatering. This method is particularly useful for the delicate period right after the seeds have germinated.
Damping off is a fungal disease that thrives in overly wet conditions, often leading to the sudden collapse of young seedlings. To combat this, maintain good air circulation around your seedlings and avoid overcrowding them in their containers.
Consider using a fan set on low to gently move air around the seedlings, which can help reduce humidity levels. Additionally, sterilize your seed-starting mix and containers before use to minimize fungal presence.
Implementing a bottom-watering technique can also minimize the risk of damping off. Place your seedling trays in a shallow dish of water, allowing the soil to absorb moisture from the bottom up, which keeps the surface drier and less hospitable to fungal growth.
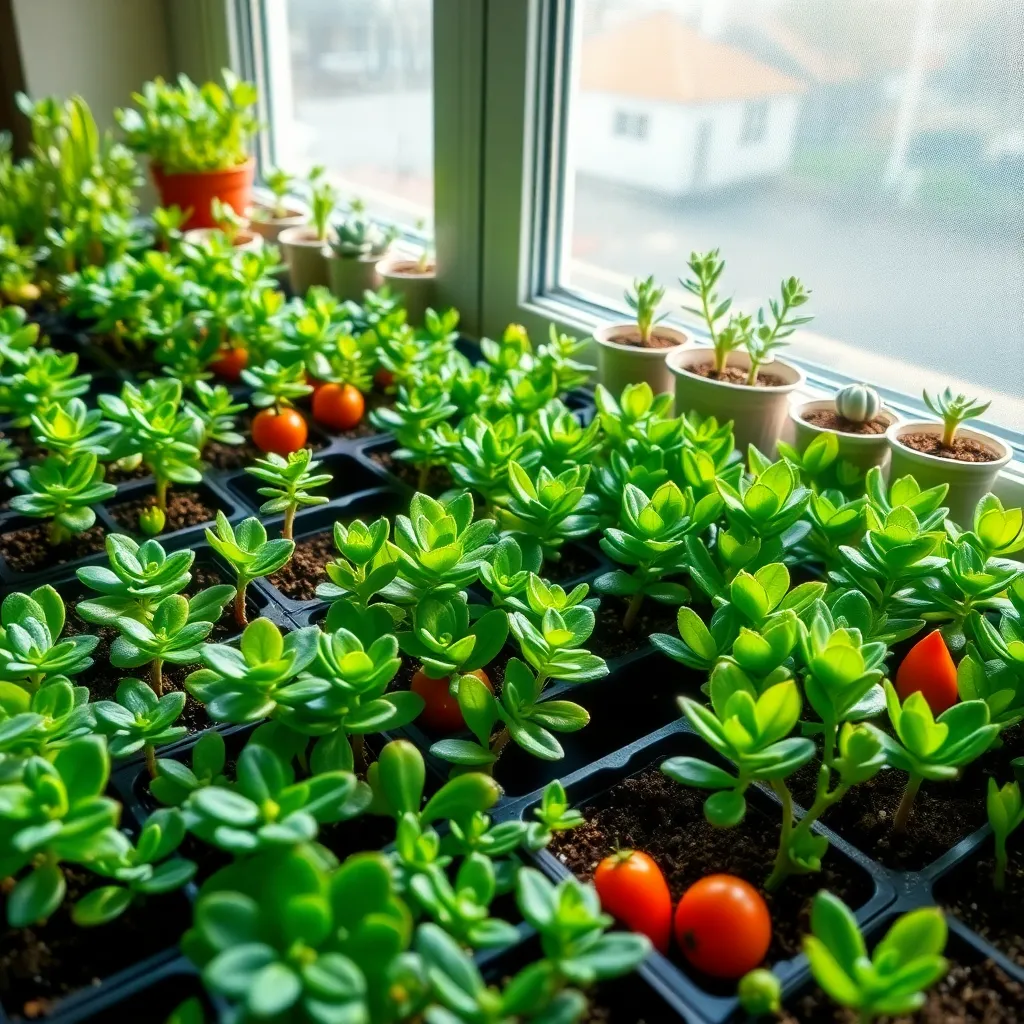
Using Poor Quality Seed Mix

Choosing a high-quality seed mix is crucial for successful indoor seed starting. Poor quality seed mixes often contain debris and lack essential nutrients, leading to weak seedlings and disappointing results.
Instead of settling for subpar options, invest in a reputable seed starting mix. These mixes are specially formulated to provide the perfect balance of aeration and moisture retention, helping your seeds germinate properly.
Look for mixes containing peat moss, vermiculite, or perlite, as these ingredients promote healthy root development. Avoid using garden soil or potting soil, as they can compact easily and harbor diseases.
For those looking to enhance their seed starting experience, consider making your own mix by combining equal parts of peat moss, perlite, and a small amount of fine vermiculite. This DIY approach can be more economical and allows you to adjust the mix to suit specific plant needs.
Ignoring Temperature Requirements
Temperature plays a critical role in successful seed germination, yet it is often overlooked. Seeds require specific temperature ranges to sprout, with most favoring a range between 65°F and 75°F (18°C to 24°C). Understanding these needs can make a significant difference in your indoor gardening efforts.
Investing in a soil thermometer can help you monitor and maintain optimal temperatures. Place heat mats under seed trays to provide consistent warmth, especially if the room is cooler than the ideal range. This practical tip ensures you cater to the specific needs of your seeds, encouraging strong growth from the start.
For beginners, it’s essential to recognize that different seeds have varying temperature requirements. Researching the specific needs of each plant species will help you create the perfect environment for your seedlings. This targeted approach will greatly enhance your success rate and boost your confidence as a gardener.
Advanced gardeners might consider using a thermostat-controlled heat mat, which offers precise temperature control. This tool allows for the fine-tuning of conditions, which is particularly useful for more delicate or finicky seeds. By providing the ideal conditions, you enable your plants to thrive right from the beginning.
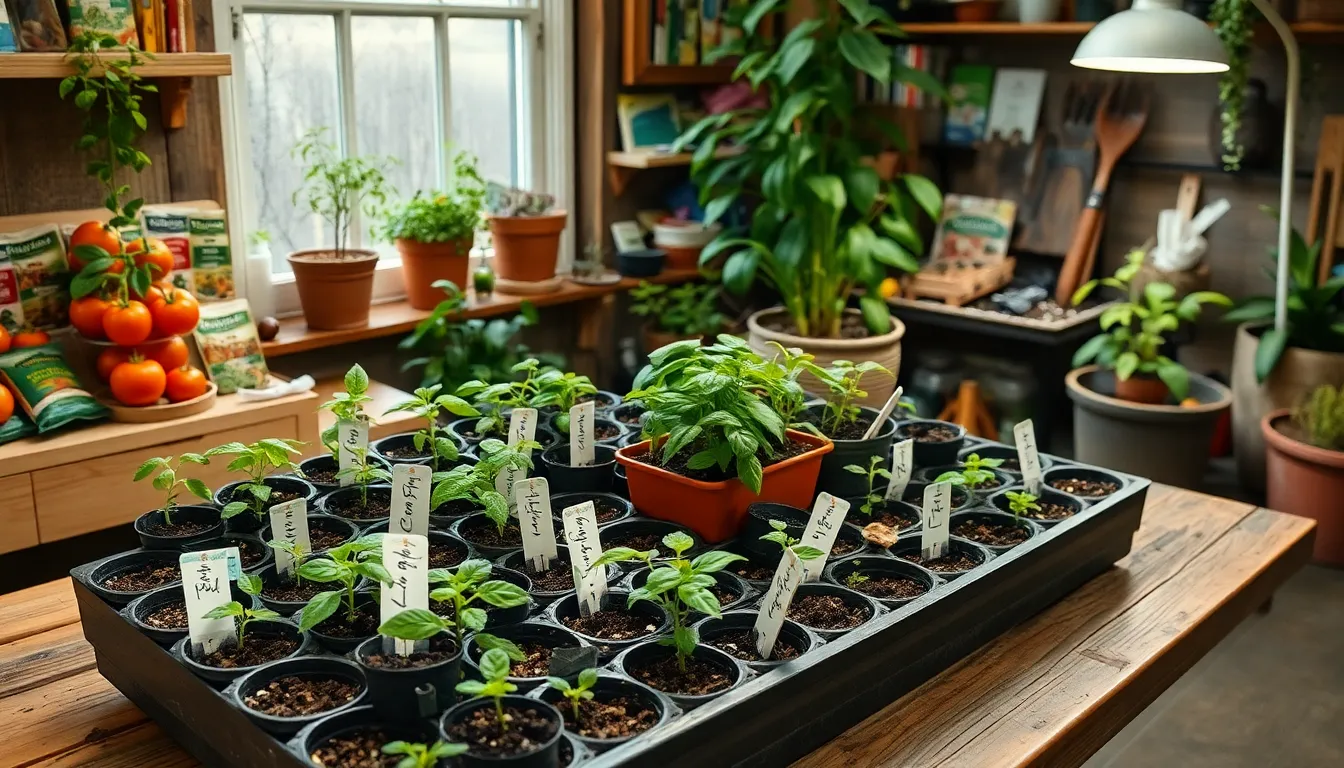
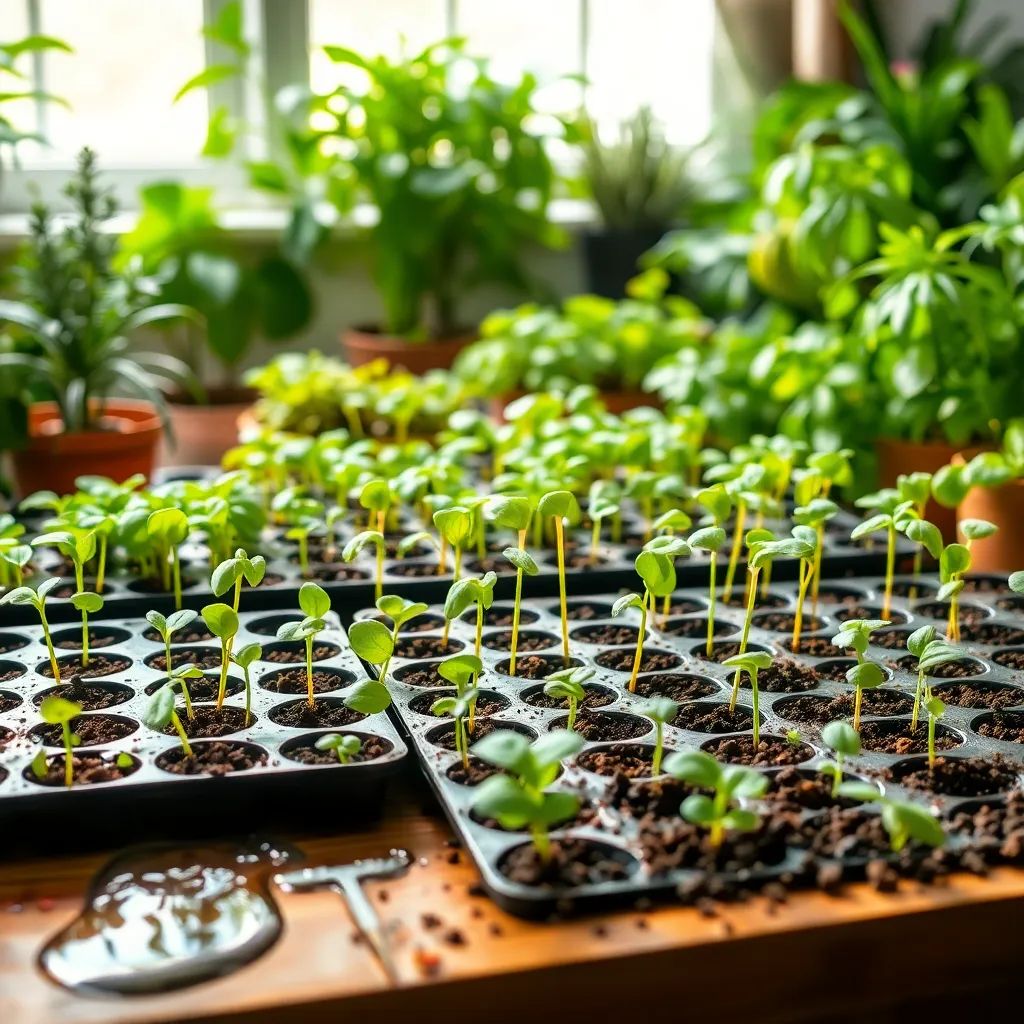
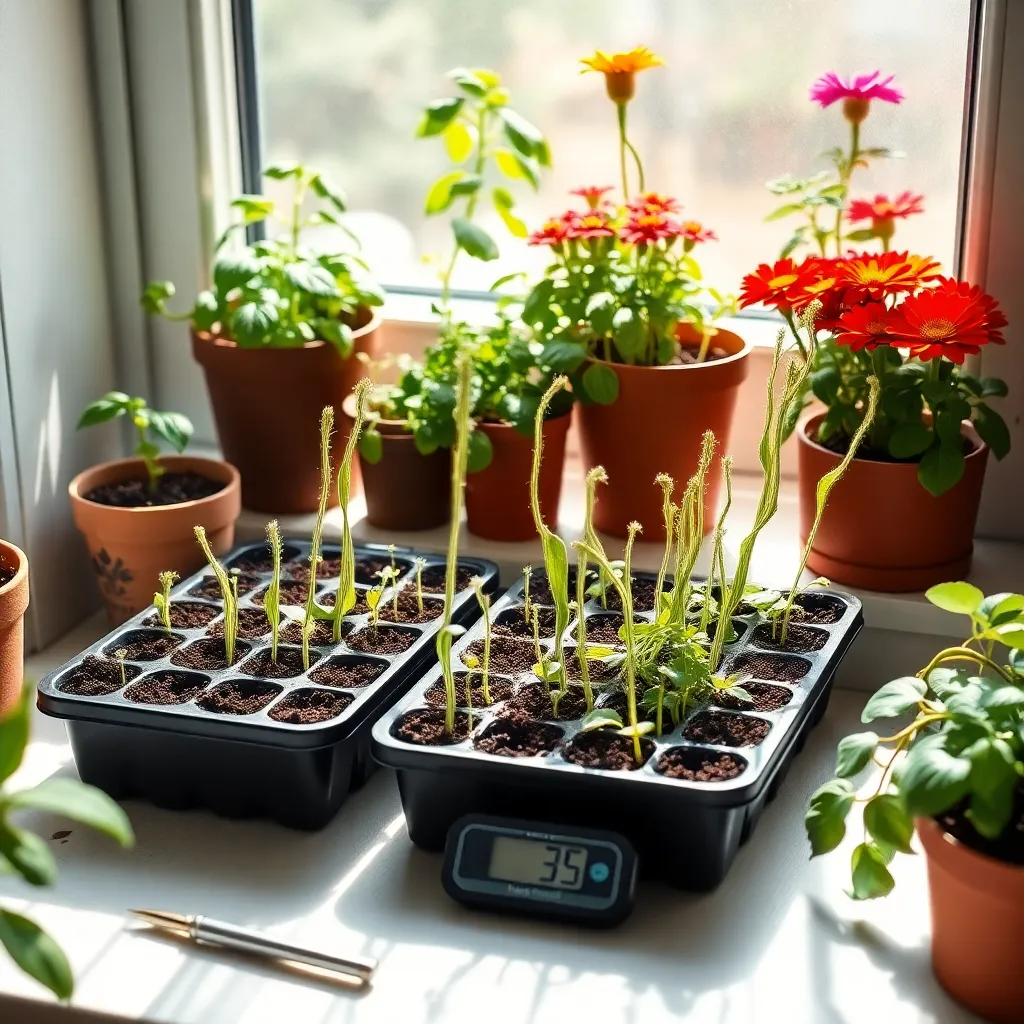
Crowded Seedling Trays
Many gardeners make the mistake of planting too many seeds in a single tray, leading to crowded conditions. This can result in seedlings competing for resources such as light, water, and nutrients, which hinders their growth.
To avoid overcrowding, sow seeds with ample space between them, typically about one inch apart, depending on the species. This allows seedlings to develop strong root systems and ensures they have sufficient light exposure, crucial for healthy growth.
For beginners, using individual cells or peat pots can help manage space effectively and make transplanting easier. Advanced gardeners might opt for seed starting trays with adjustable cell sizes, allowing them to accommodate larger seedlings without needing to transplant too soon.
Regularly thin out seedlings by removing the weaker ones, ensuring the strongest plants have enough room to thrive. This not only improves air circulation, which reduces the risk of fungal diseases, but also promotes the growth of robust and healthy plants ready for outdoor planting.
Conclusion: Growing Success with These Plants
In navigating the delicate early stages of a relationship, avoiding common missteps can lay the foundation for lasting success. First, ensure communication is open and honest, setting the tone for transparency. Second, manage expectations realistically, allowing your relationship to grow naturally. Third, maintain a balance between independence and togetherness, fostering a healthy dynamic. Fourth, cultivate emotional intelligence to better understand and respond to each other’s needs. Lastly, nurture the relationship with patience, appreciating that growth takes time.
As a next step, consider setting aside a few moments each week to reflect on these principles with your partner, discussing what’s working and what could improve. By doing so, you actively invest in your relationship’s growth and resilience.
Save or bookmark this article now as a handy reference guide, ensuring these insights remain within reach as you continue your journey together. Embrace the exciting path ahead, knowing that by avoiding these pitfalls, you’re well-equipped to cultivate a thriving, enduring relationship. Remember, every small action you take today lays the groundwork for a deeper, more fulfilling connection tomorrow.