As the frost begins to melt away and the first whispers of spring gently nudge at winter’s chill, the thought of lush, vibrant gardens stirs in the hearts of both novice and seasoned gardeners. Starting seeds indoors is a rewarding journey that not only extends your growing season but also offers the thrill of nurturing life from its very inception. Whether you’re dipping your toes into the soil for the first time or you’ve been cultivating your green thumb for years, this guide will provide the essential steps and tips to transform a handful of seeds into flourishing plants.
Embarking on the adventure of indoor seed starting can feel like planting the seeds of possibility itself. This method not only allows you to bypass unpredictable weather but also gives you a head start on the growing season, ensuring your garden bursts into life as soon as the outdoor conditions are right. By the end of this guide, you’ll be equipped with the knowledge to select the right seeds, prepare an ideal growing environment, and master the art of caring for tender seedlings. Let’s unlock the magic of seed starting together, making your gardening dreams a reality with each unfolding leaf.
Select Quality Seed Varieties
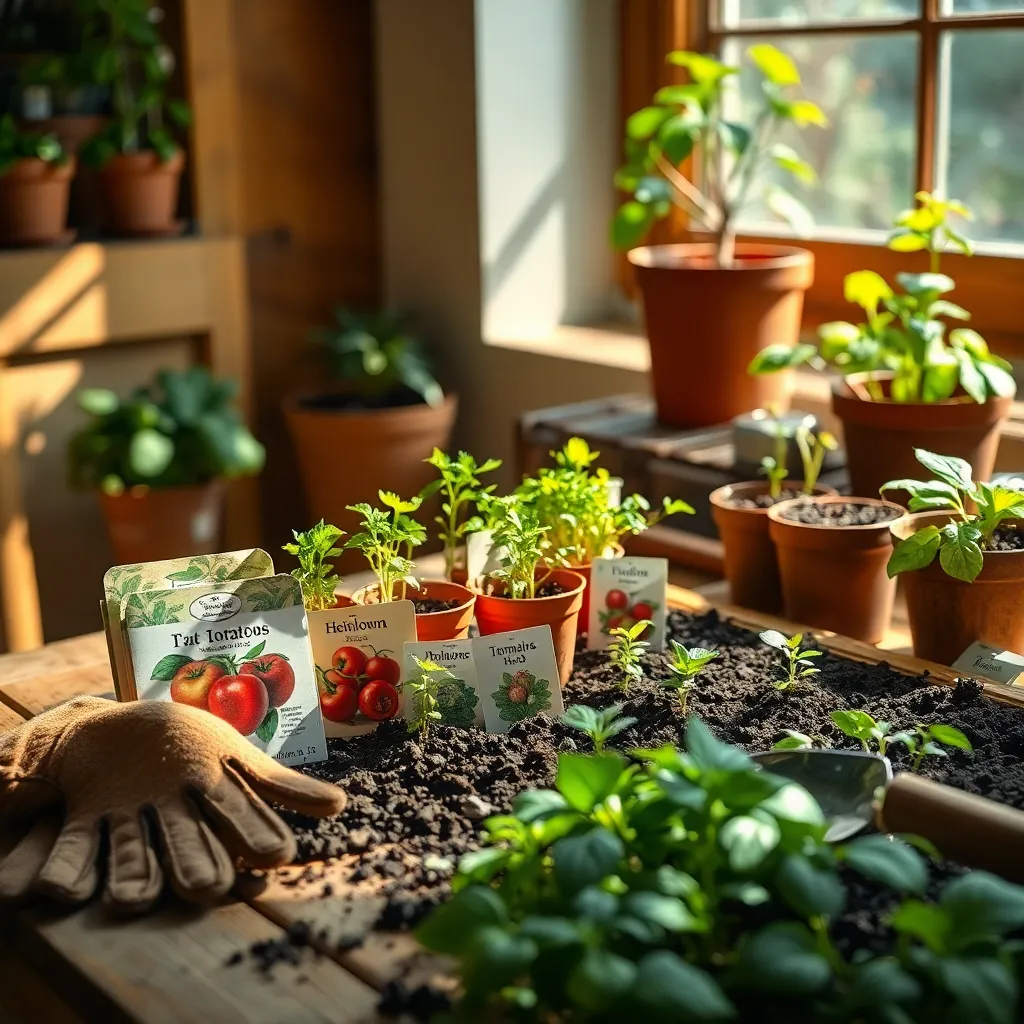
Choosing the right seed varieties is essential for a successful indoor gardening experience. Select seeds that are known to thrive indoors, such as tomatoes, peppers, and herbs like basil or mint.
When selecting seeds, it’s crucial to consider the specific needs of each plant variety. Look for seeds that are labeled as ‘indoor’ or ‘container-friendly’ to ensure they are well-suited for growing inside.
For beginners, starting with heirloom or open-pollinated seeds can be beneficial, as they tend to be more forgiving and adaptable. These seeds often come with the added bonus of being able to save seeds for future planting, promoting sustainability in your gardening practice.
Experienced gardeners might want to explore hybrid seed varieties that offer improved resistance to common indoor pests and diseases. These hybrids can provide a more robust and reliable harvest, though seed-saving from hybrids may not yield identical plants.
- Start with high-quality seed packets from reputable suppliers to ensure germination success.
- Consider using a seed starting mix that is light and well-draining to encourage strong root development.
- Maintain consistent moisture levels by watering gently and regularly, avoiding over-saturation.
Prepare Seed-Starting Containers
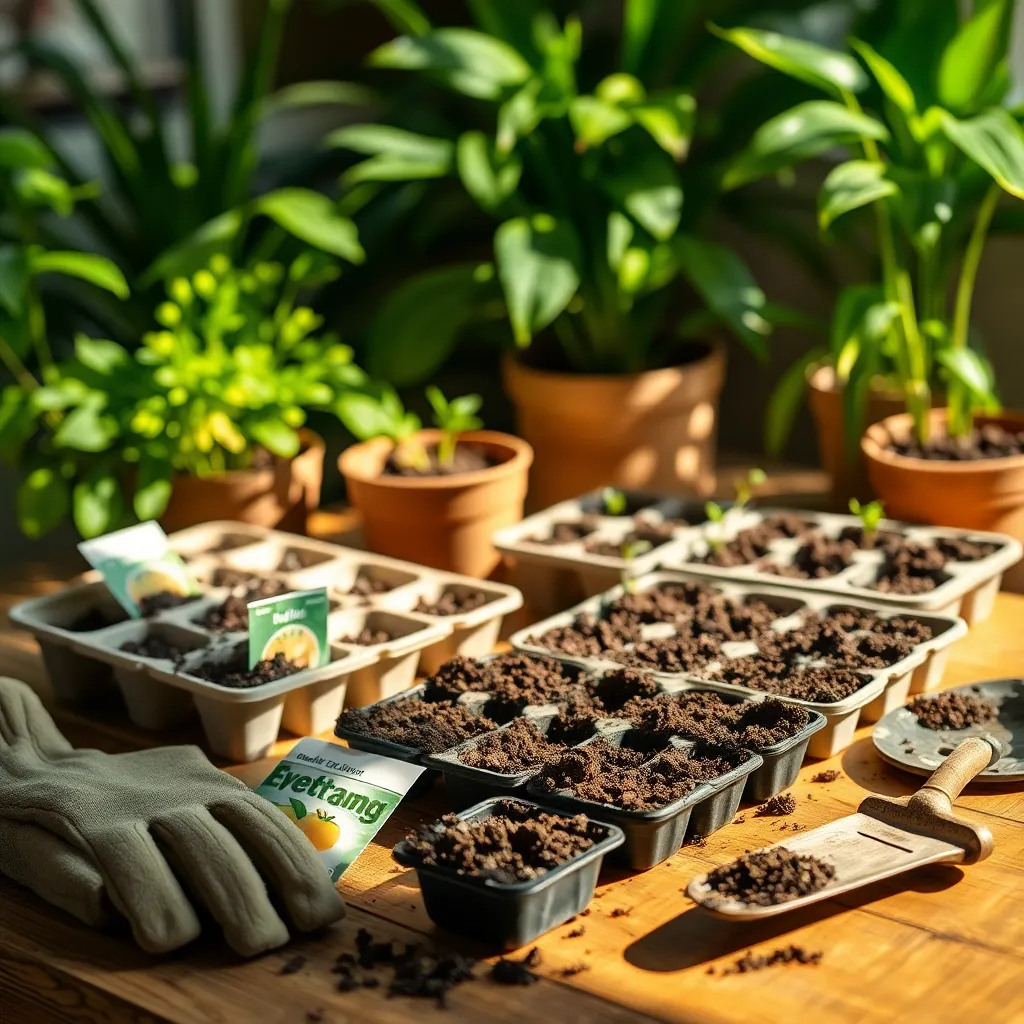
Once you’ve selected your seed varieties, it’s time to prepare the containers for seed starting. Using the right containers can significantly impact the growth and health of your seedlings.
To begin, choose containers that have adequate drainage holes to prevent waterlogging. You can use a variety of containers, including seed trays, recycled yogurt pots, or biodegradable pots, as long as they allow excess water to escape.
Fill your containers with a high-quality seed-starting mix that is light and well-draining. Avoid using garden soil, as it can be too dense and may harbor pests or diseases that could harm your seedlings.
Before sowing, moisten the seed-starting mix until it’s damp but not soggy. It’s crucial to ensure the mix is evenly moist to provide a consistent environment for germination.
For an advanced touch, consider using a heat mat beneath your containers to maintain a steady temperature, which can boost germination rates for certain seeds. Most seeds thrive in temperatures between 70°F and 75°F (21°C to 24°C).
Cover your seeds lightly with the seed-starting mix, following the depth recommendations on the seed packet. This ensures that seeds are not buried too deeply, which can hinder their ability to sprout.
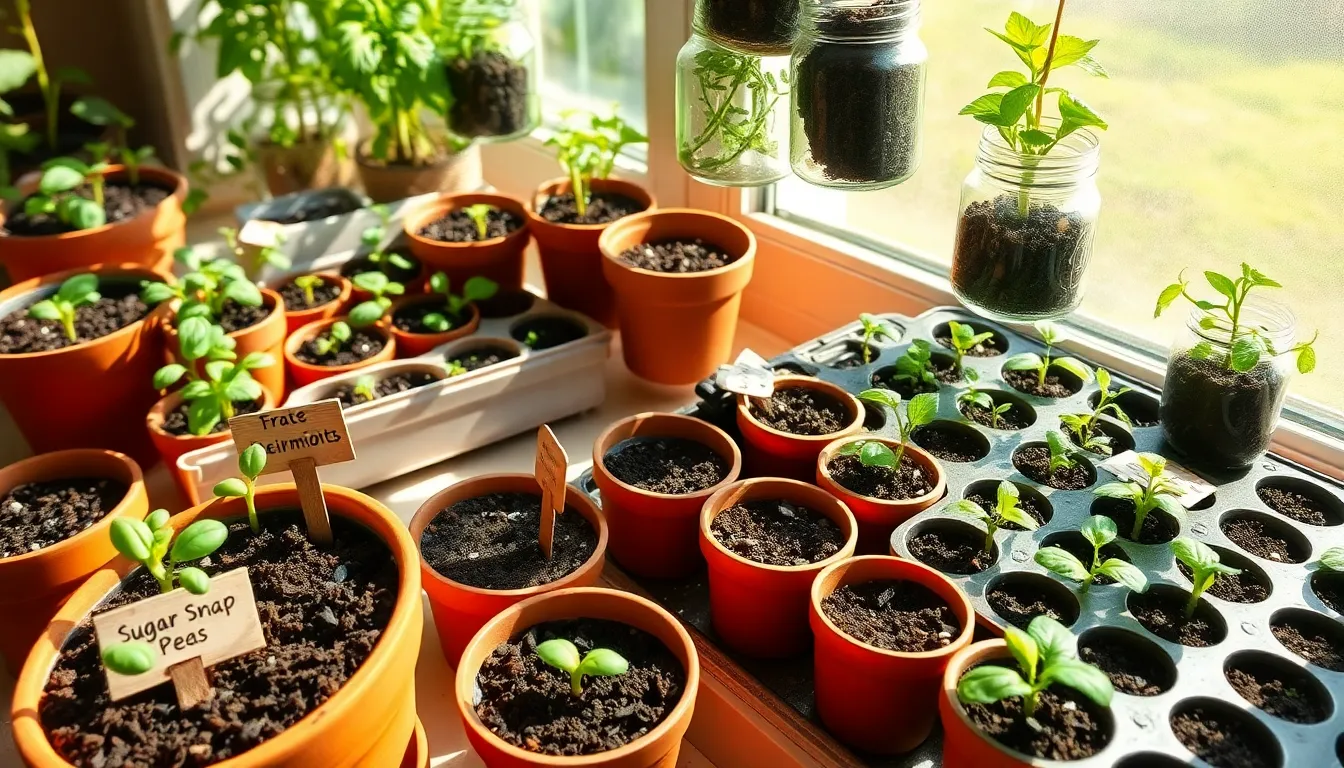
Fill Trays with Seed Mix
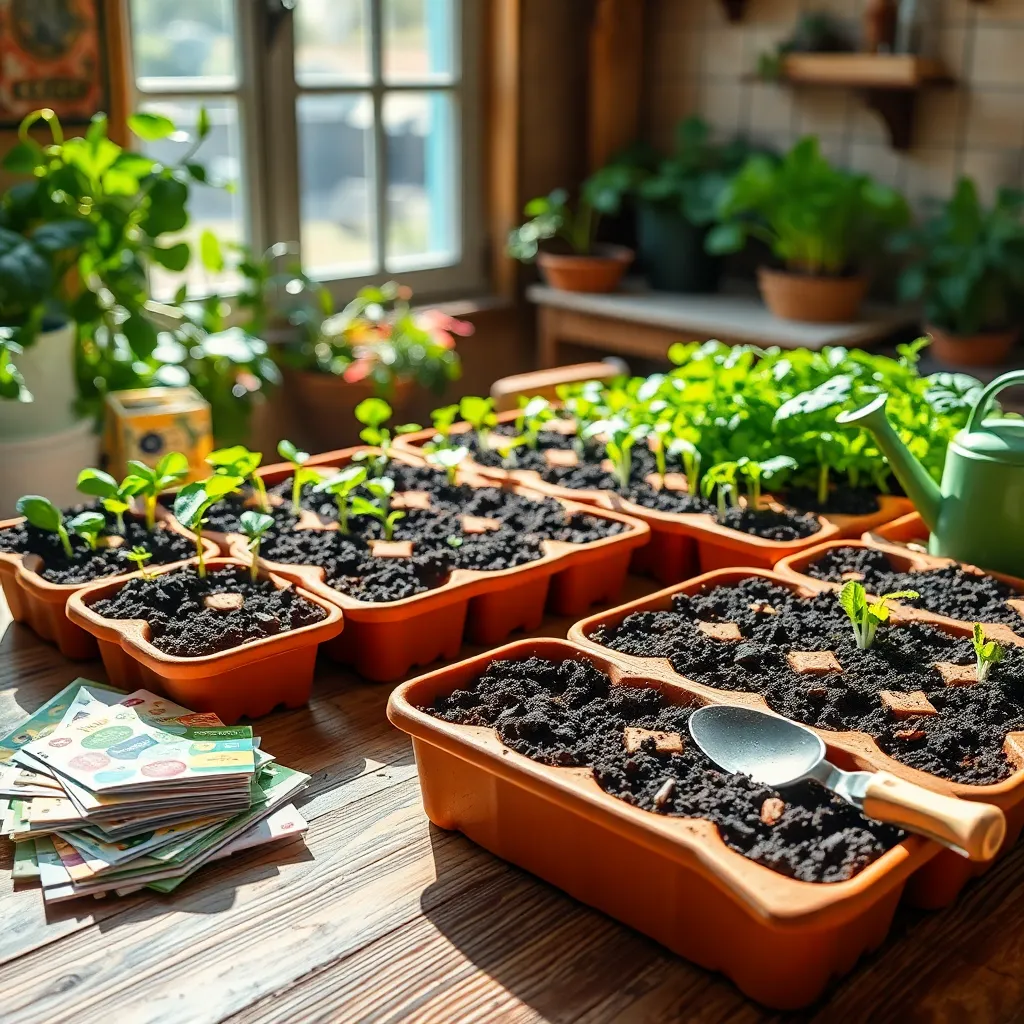
Once you’ve prepared your containers, it’s time to fill them with a high-quality seed mix. Choose a seed-starting mix specifically designed for seedlings as it provides the right balance of nutrients and drainage.
Seed-starting mixes are different from regular potting soil because they’re finer and more lightweight. This texture supports seed growth by allowing roots to penetrate more easily and ensuring good water retention.
Before filling the trays, lightly moisten the seed mix to ensure even hydration. To do this, gradually add water to the mix in a separate container, mixing until it feels like a well-wrung-out sponge.
Next, fill each cell or tray to the top, gently tapping the tray to settle the mix without compacting it. Compacting the mix can limit root growth, so it’s crucial to keep it light and airy.
For those looking to enhance their seed-starting success, consider adding a sprinkle of vermiculite on top of the filled trays. Vermiculite helps retain moisture and maintains consistent humidity, which is essential for germination.
- Ensure the seed mix is sterile to prevent diseases.
- Use a shallow container to avoid overfilling and spilling.
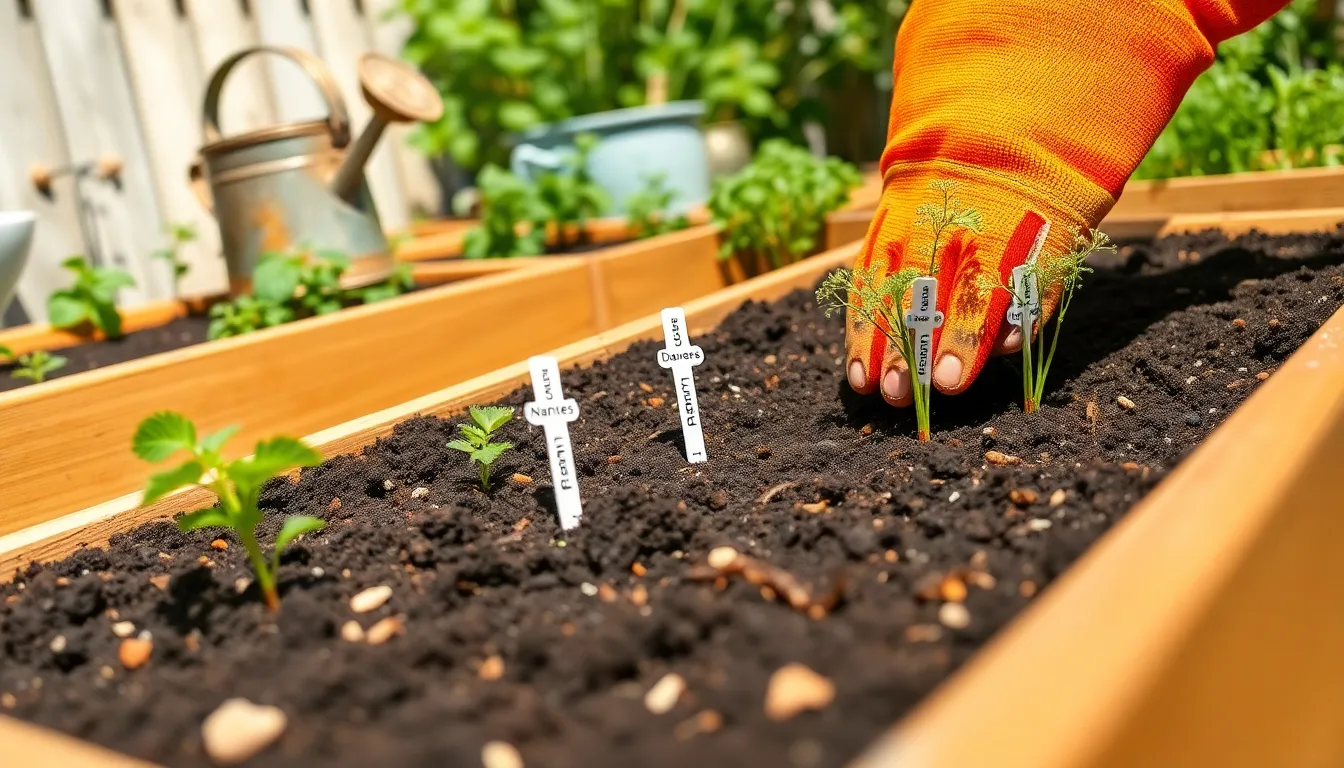
- Label each tray with the seed type and planting date to track progress effectively.
Sow Seeds at Correct Depth
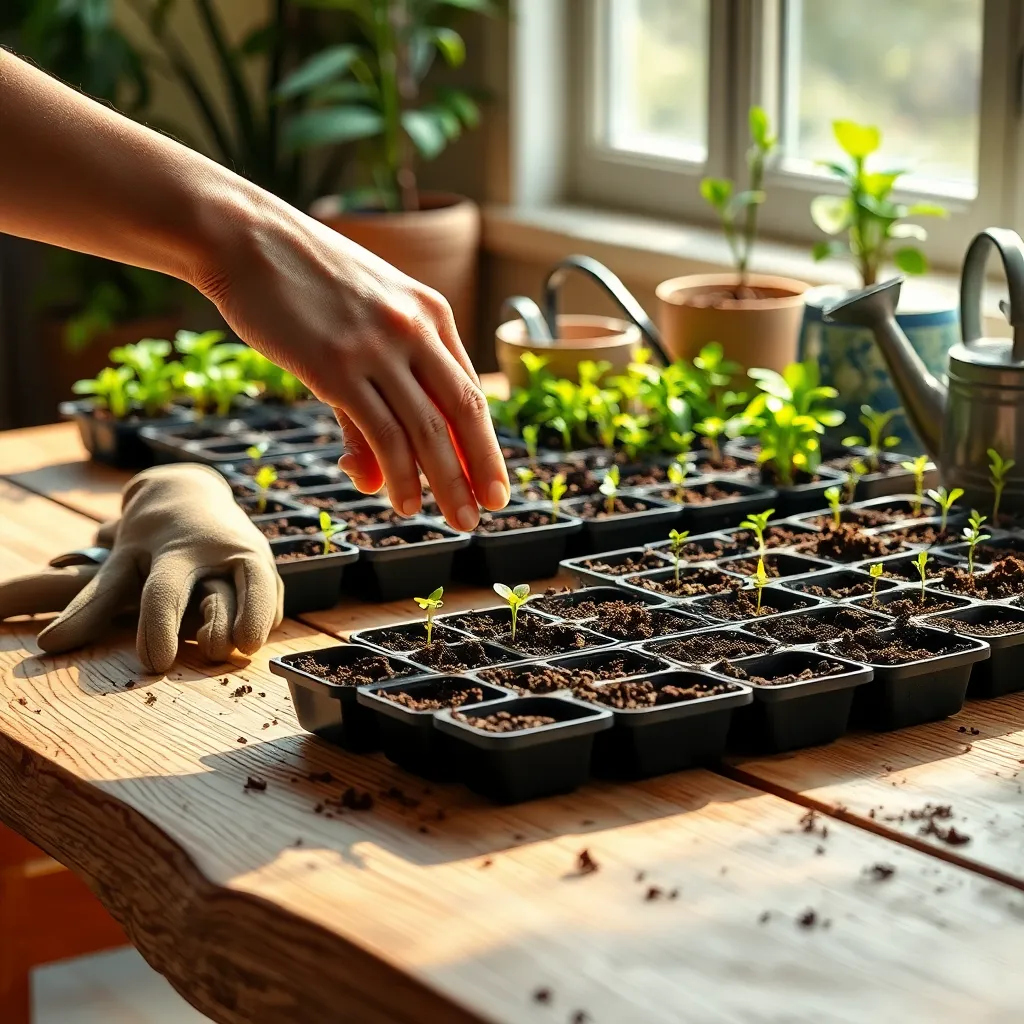
Understanding the correct depth for sowing seeds is crucial for successful germination. Planting seeds too deep can hinder their ability to reach the surface, while planting too shallow may not provide enough moisture for them to grow.
Consult the seed packet for specific depth recommendations, as different seeds have varying requirements. Generally, seeds should be planted at a depth of about two to three times their diameter.
For tiny seeds, simply press them lightly into the soil without covering them completely. This ensures they receive enough light, which is vital for the germination of some species like lettuce.
Using a pencil or dowel can help create uniform planting holes, especially for larger seeds. This tool can aid in maintaining consistent depth across your seed tray, improving your chances of even growth.
Once planted, gently mist the soil surface with water to keep it moist without dislodging the seeds. Regularly check moisture levels to ensure that the top layer of the soil mix remains damp but not waterlogged.
Maintain Optimal Temperature and Light
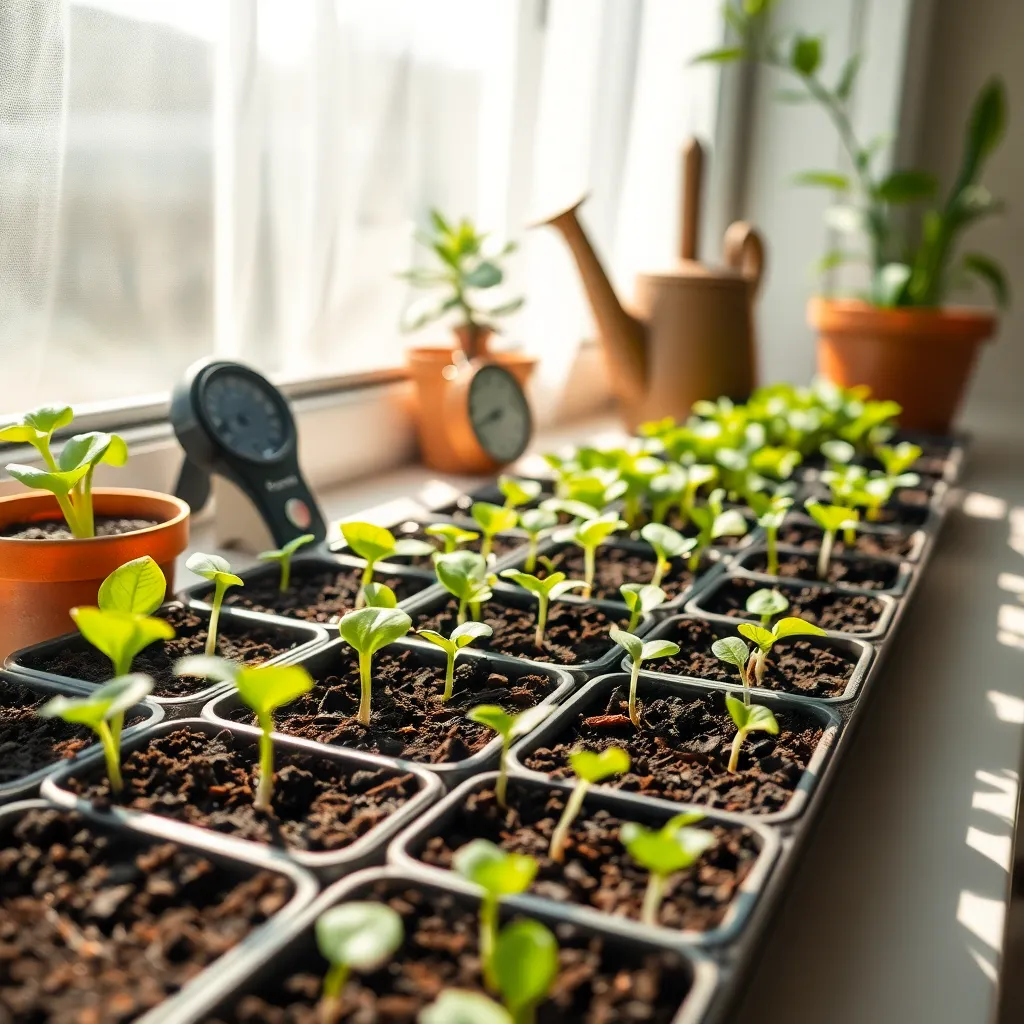
Maintaining the right temperature and light conditions is crucial for successful seed starting. Most seeds germinate best in temperatures between 65°F to 75°F (18°C to 24°C), making it important to find a warm spot indoors. If your home is cooler, consider using a seedling heat mat to provide gentle, consistent warmth beneath your seed trays. This can significantly improve germination rates, particularly for heat-loving plants like tomatoes and peppers.
Light is equally essential, as seedlings require bright, indirect light to grow strong and healthy. Place your seed trays near a south-facing window if possible, but be cautious of direct sunlight, which can be too intense. If natural light is insufficient, supplement with grow lights placed about 2 to 4 inches above the seedlings. Adjust the height of the lights as the plants grow to maintain an optimal distance and prevent leggy growth.
For those with more experience, consider using a timer to automate your lighting schedule and ensure your seedlings receive 12 to 16 hours of light per day. Investing in LED grow lights is a cost-effective solution that provides the full spectrum of light needed for robust plant development. Advanced gardeners might explore using reflective surfaces around their grow area to maximize light efficiency and coverage.
Pay attention to environmental cues, as fluctuations in temperature and light can impact seedling health. Ensure good air circulation by using a small fan to prevent mold and fungal diseases, and to strengthen plant stems. Regularly check your seedlings for signs of stress, such as yellowing leaves or stunted growth, and adjust the growing conditions accordingly. By maintaining optimal temperature and light, you’ll set a strong foundation for your plants to thrive once they’re ready to be transplanted outdoors.
Conclusion: Growing Success with These Plants
As we wrap up our exploration of starting seeds indoors, let’s revisit the five key relationship concepts that can transform your gardening journey into a meaningful metaphor for your personal relationships. First, we focused on preparing a nurturing environment, akin to creating spaces of trust and love. Next, we discussed the importance of selecting quality seeds, paralleling the intentional choices we make in our relationships. We moved on to the right timing, underscoring patience and understanding in our connections. Fourth, we highlighted the value of consistent care, reminding us that relationships, like plants, thrive on attention and dedication. Finally, we embraced adaptability, celebrating the resilience needed to weather both gardening and relational challenges.
To take immediate action, spend a few moments today reflecting on which of these concepts you can actively apply to your relationships. Whether it’s offering more consistent care or adapting to changes with grace, small steps can yield significant growth.
Don’t forget to bookmark this article for future reference, as these insights can serve as a guiding light in your journey toward fulfilling relationships. Remember, nurturing connections, like nurturing seeds, leads to vibrant, lifelong growth. Here’s to your flourishing future!