In the realm of gardening, few projects offer as much satisfaction and versatility as building your own raised garden bed. Whether you’re stepping into the gardening world for the first time or you’re a seasoned green thumb, crafting a raised bed can transform your planting experience and yield healthier, more bountiful harvests. These elevated plots not only provide better drainage and soil quality but also make gardening more accessible, cutting down on pesky weeds and pests.
For beginners, a raised garden bed is an ideal starting point, simplifying the complexities of soil management and plant care. Experienced gardeners will appreciate the opportunity to customize their growing environment, tailoring soil composition and plant placement to ensure optimal growth. In this article, you’ll discover the step-by-step process of building a raised garden bed, from selecting materials and the perfect location to assembling your masterpiece with ease.
Understanding the importance of a well-constructed raised bed is crucial for maximizing your gardening efforts. You’ll learn practical tips for choosing the best soil mix, managing water efficiently, and maintaining your bed throughout the seasons. By the end of this guide, you’ll be equipped with the knowledge and confidence to enhance your gardening space, creating a thriving oasis of beauty and productivity in your own backyard.
Select an Ideal Location
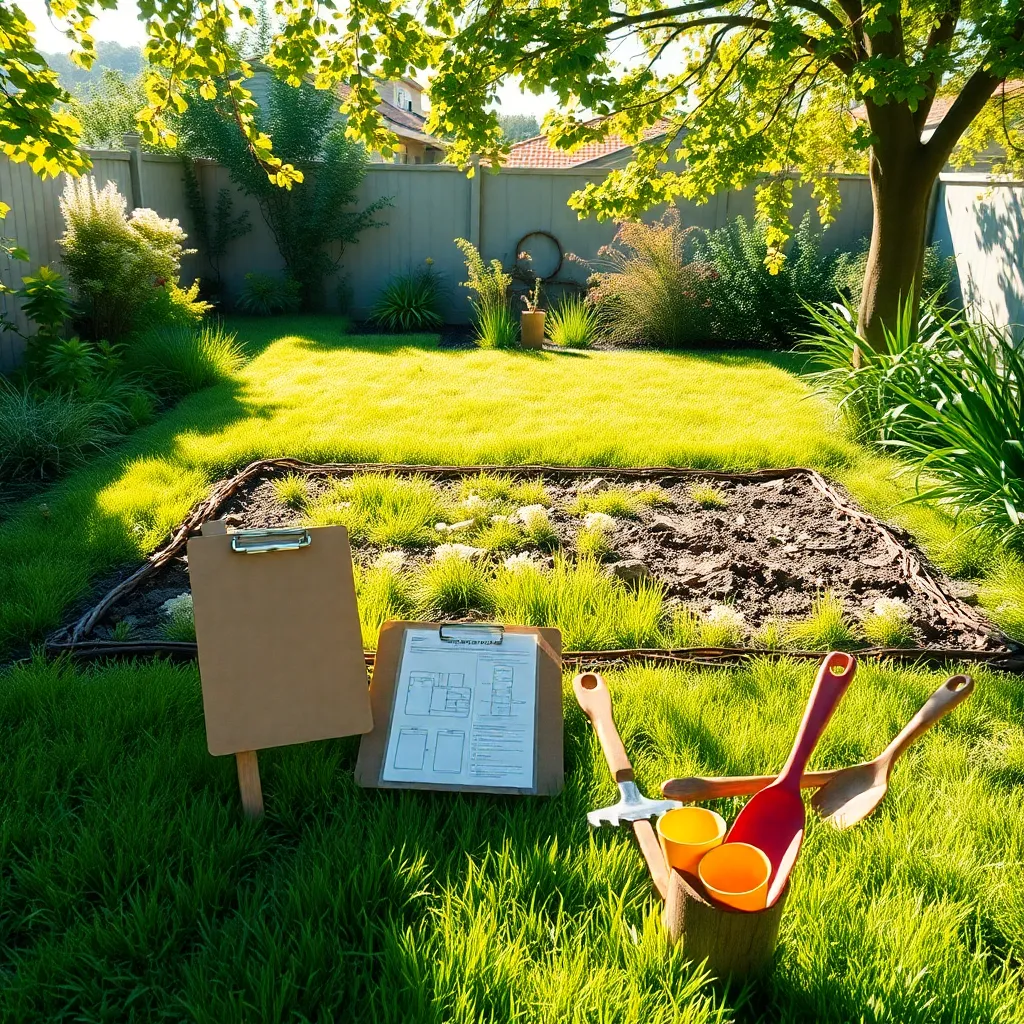
Choosing the right location for your raised garden bed is crucial for ensuring healthy plant growth. Begin by observing your yard to find a spot that receives at least six to eight hours of sunlight daily.
Look for an area with good drainage, as standing water can lead to root rot. Slightly elevated or sloped areas are ideal because they naturally allow excess water to flow away.
Consider proximity to a water source to make watering your garden convenient and efficient. You can also make use of rain barrels to collect water if your bed is located far from a spigot.
Advanced gardeners might evaluate the soil pH in different areas of their yard to find a spot with moderately neutral levels, around 6.0 to 7.0. This will provide a better foundation for a wide variety of plants, from vegetables to flowers.
Gather Necessary Materials
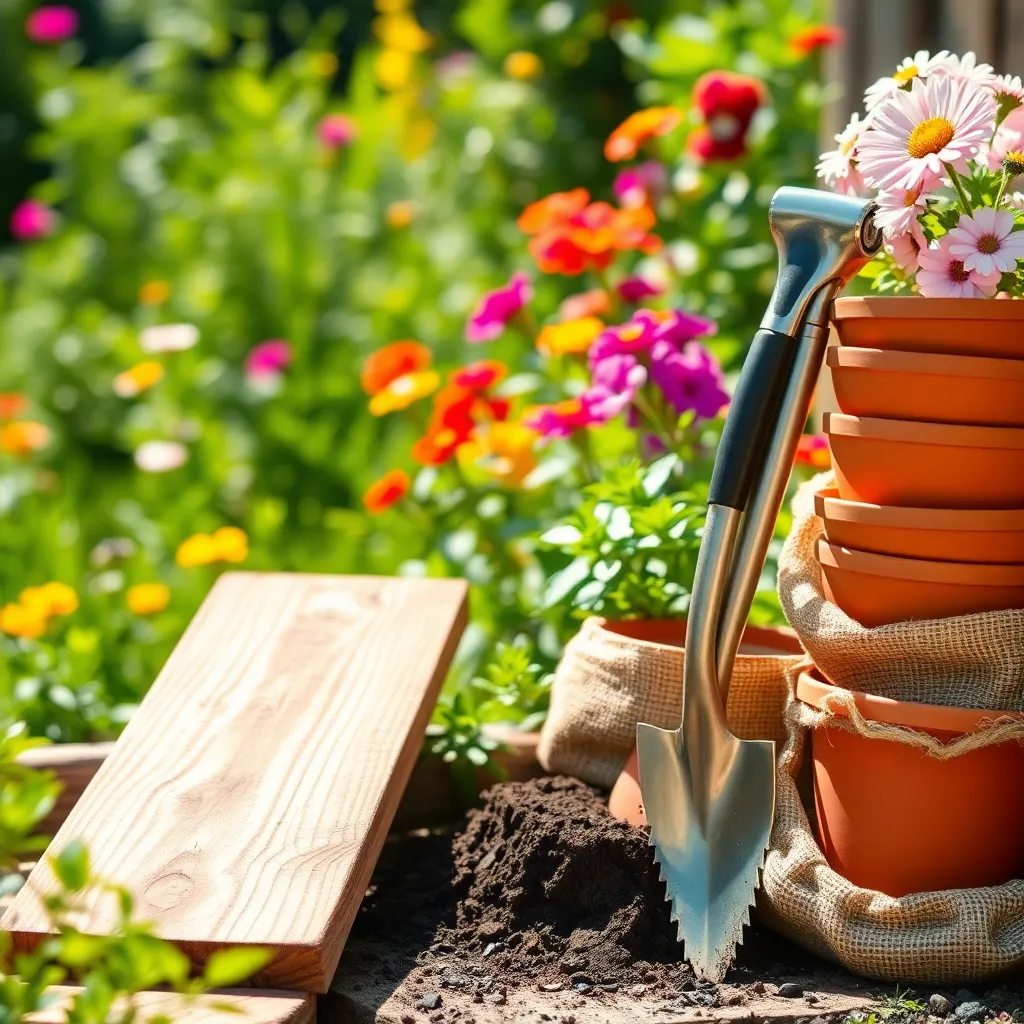
Before you start building your raised garden bed, it’s essential to gather all the necessary materials to ensure a smooth process. You’ll need to collect items like untreated wood, soil, and fasteners, which are fundamental to constructing a sturdy and productive bed.
Consider using materials like cedar or redwood for the sides of your bed, as these types of wood are naturally rot-resistant and will last longer. If you’re on a budget, untreated pine is a more affordable option, though it may need replacing sooner.
It’s crucial to select a high-quality soil mix, as this will be the foundation for your plants’ health. A good mix typically includes a combination of topsoil, compost, and a growing medium like peat moss or coconut coir to ensure proper drainage and nutrient availability.
For beginners, a simple 1:1:1 mix of topsoil, compost, and vermiculite can provide a balanced environment for most plants. Advanced gardeners might experiment with adding specific amendments like bone meal or greensand to tailor the soil to particular plant needs.
Construct the Frame
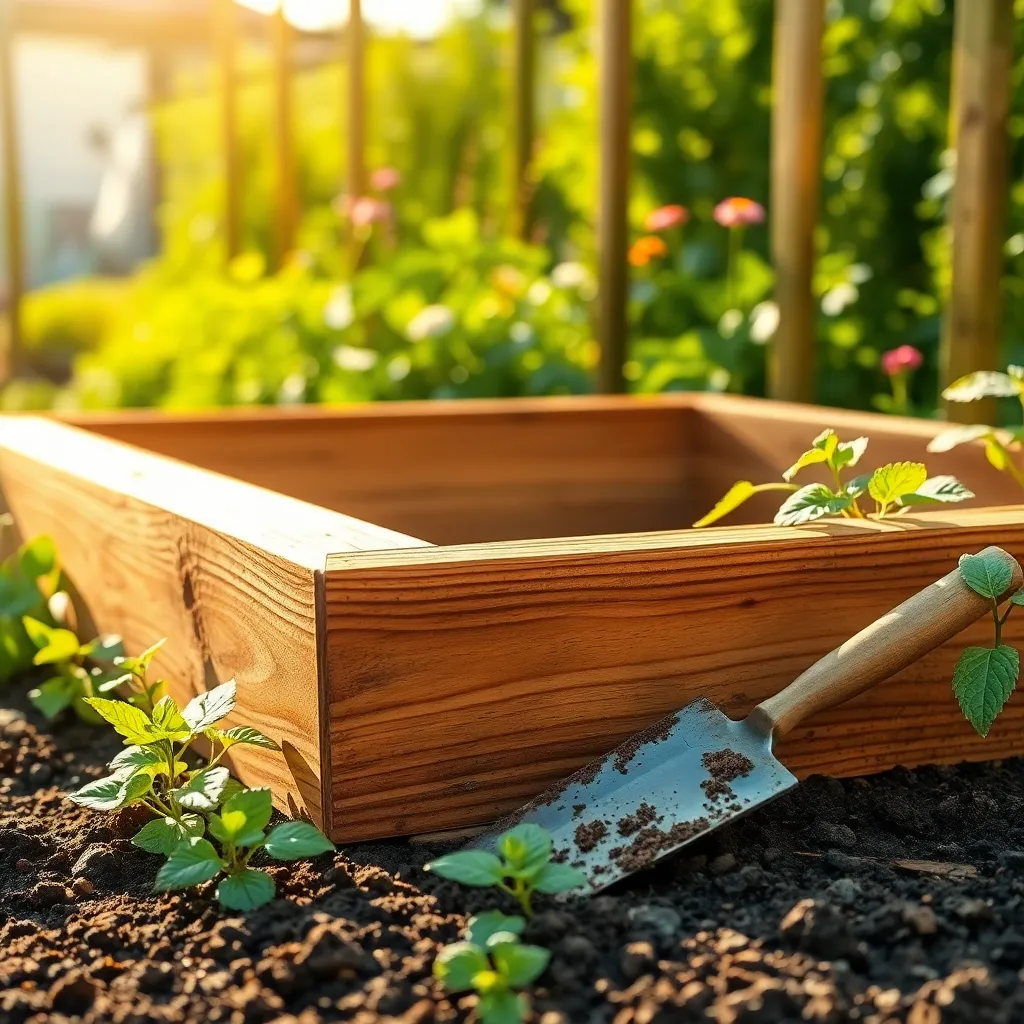
To start constructing the frame of your raised garden bed, lay out the lumber on a flat and stable surface. Choose rot-resistant wood like cedar or redwood, as these types can withstand weathering and pests over time.
Next, measure and cut the wood to your desired dimensions, ensuring all sides are equal if you prefer a square bed or follow your design plan for a rectangular shape. Use a saw for precise cuts, and always wear protective gear like gloves and goggles for safety.
Assemble the frame using galvanized screws or nails, which are less prone to rust and will hold the structure together firmly. Pre-drill holes to prevent the wood from splitting, especially if you’re using hardwood.
Consider reinforcing the corners with corner brackets for added stability, especially if your bed is large or will hold heavy soil. This step ensures your garden bed remains sturdy through various weather conditions and the weight of the soil and plants.
Prepare the Soil Mix
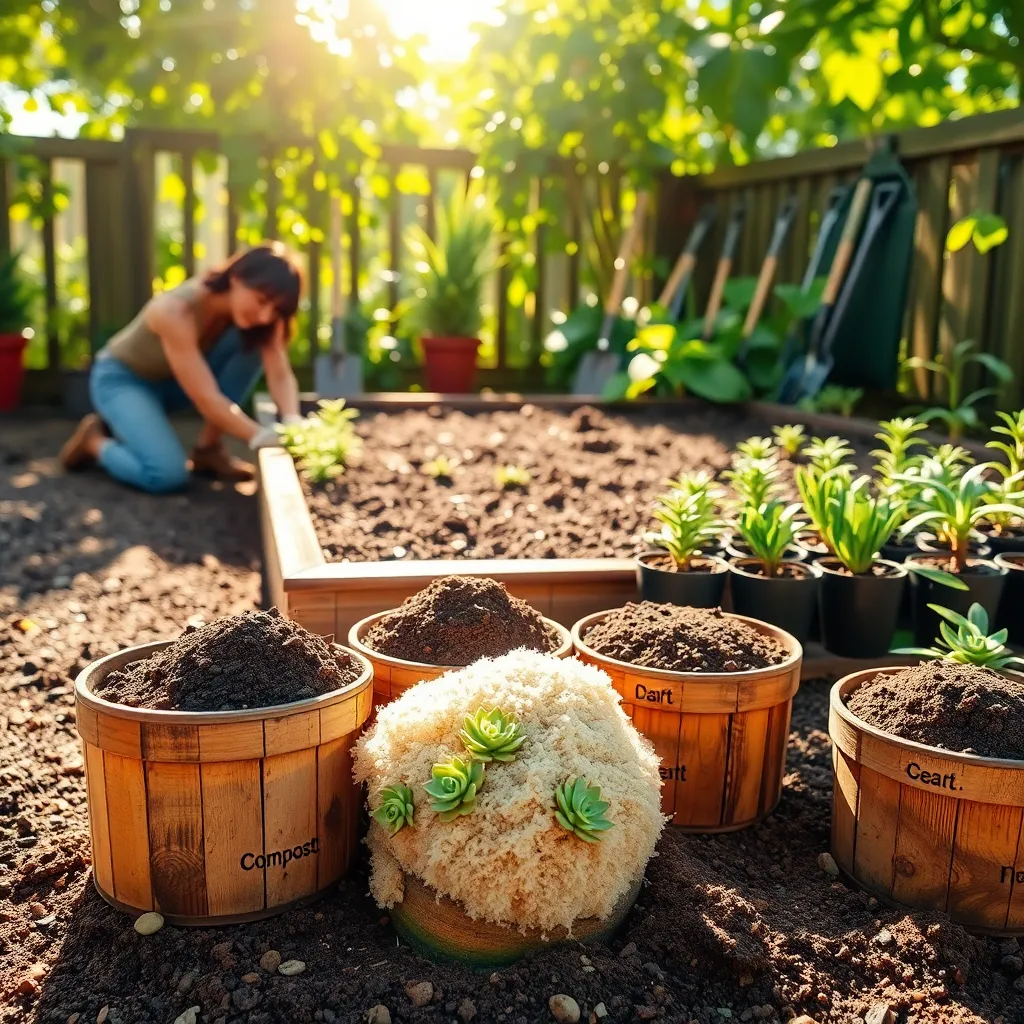
Before adding soil to your raised garden bed, it’s crucial to create a mix that supports healthy plant growth. Start with a base of good-quality topsoil, ensuring it’s free from contaminants and rich in organic matter.
Enhance your soil mix by incorporating compost, which provides essential nutrients and improves soil structure. Aim for a ratio of about 60% topsoil and 40% compost to create an optimal growing environment for a variety of plants.
For gardeners seeking to improve drainage, adding materials like coarse sand or perlite can be beneficial. These amendments prevent water logging and create air pockets, supporting root health and enhancing plant growth.
Consider the specific needs of the plants you intend to grow when preparing your soil mix. For instance, vegetables generally thrive in slightly acidic to neutral pH soils, so testing and adjusting the pH with lime or sulfur might be necessary.
Advanced gardeners might want to incorporate slow-release fertilizers into their soil mix to provide a steady supply of nutrients throughout the growing season. This approach minimizes the need for frequent fertilizing and helps maintain consistent plant growth.
Once your soil mix is ready, fill the raised garden bed, leaving a few inches of space from the top to prevent overflow when watering. Regularly check the soil moisture levels, especially during hot weather, to ensure your plants receive adequate hydration without overwatering.
Fill and Level the Bed
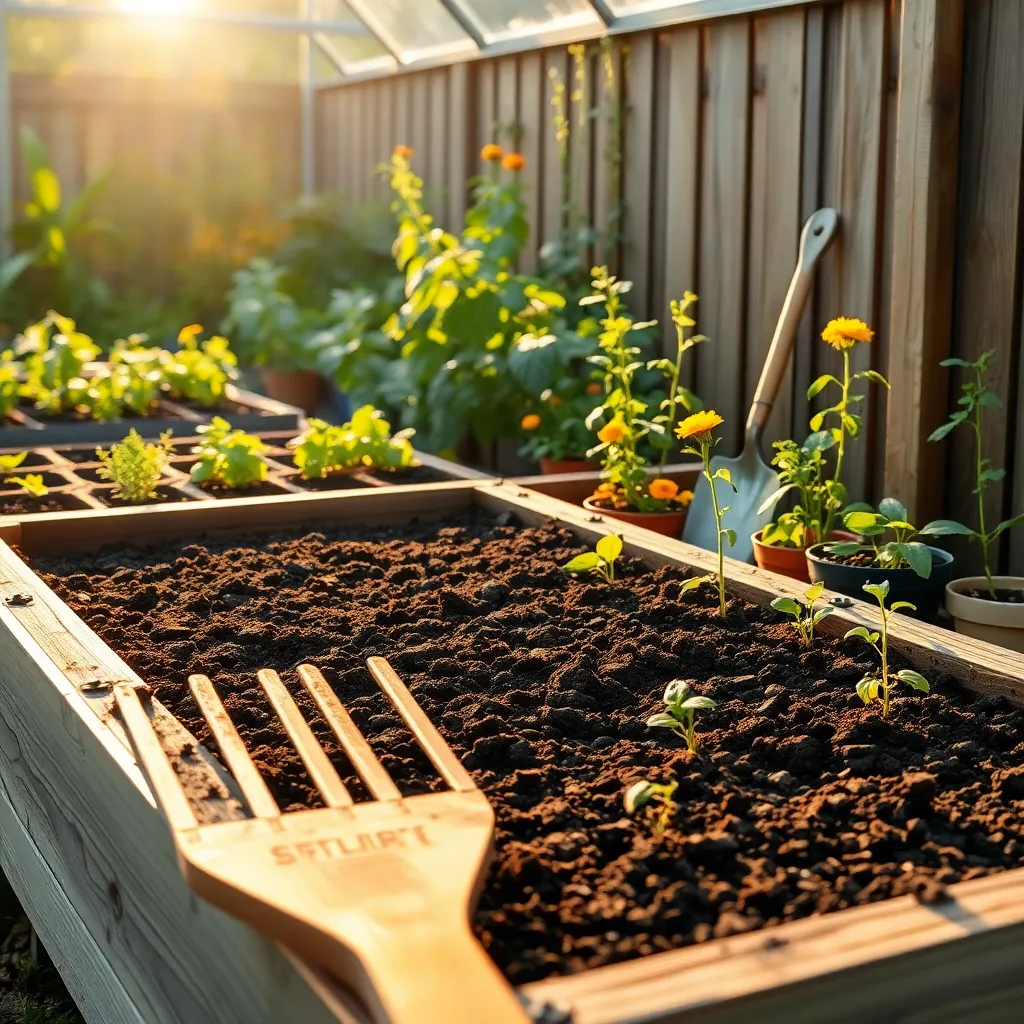
After preparing your soil mix, it’s time to fill the raised bed, ensuring even distribution for optimal plant growth. Begin by pouring the prepared soil mix into the bed, filling it to about two-thirds full to allow room for settling.
Next, use a rake or garden fork to level the soil across the surface of the bed. This helps to eliminate air pockets and ensures that water is evenly distributed throughout the bed.
For gardeners looking to enhance their soil quality, consider adding a layer of organic compost on top of the soil mix. This not only enriches the soil with nutrients but also improves its water retention capabilities.
As you fill and level the bed, it’s important to check the soil depth, ensuring it’s adequate for the plants you intend to grow. Most vegetables require a soil depth of at least 12 inches for proper root development.
Conclusion: Growing Success with These Plants
In “How to Build a Raised Garden Bed,” we explored five key concepts essential for nurturing healthy relationships: communication, trust, collaboration, patience, and resilience. Just as a garden bed needs a solid foundation to thrive, relationships flourish when built on open communication and trust. Collaboration ensures each partner contributes equally, while patience allows for growth at a natural pace. Resilience helps weather any storms that may come your way.
Now, take immediate action by identifying one area in your relationship that could benefit from these principles. Engage in a heartfelt conversation with your partner about how you can both implement these strategies together. This small step can be the beginning of profound positive change.
As you embark on this journey, remember to save or bookmark this article. It will serve as a valuable guide in your relationship toolkit, providing insights and inspiration whenever you need a boost.
Looking ahead, by applying these foundational concepts, you’re not just building a relationship that survives, but one that thrives. With dedication and love, your relationship can become a flourishing garden of shared dreams and mutual support.